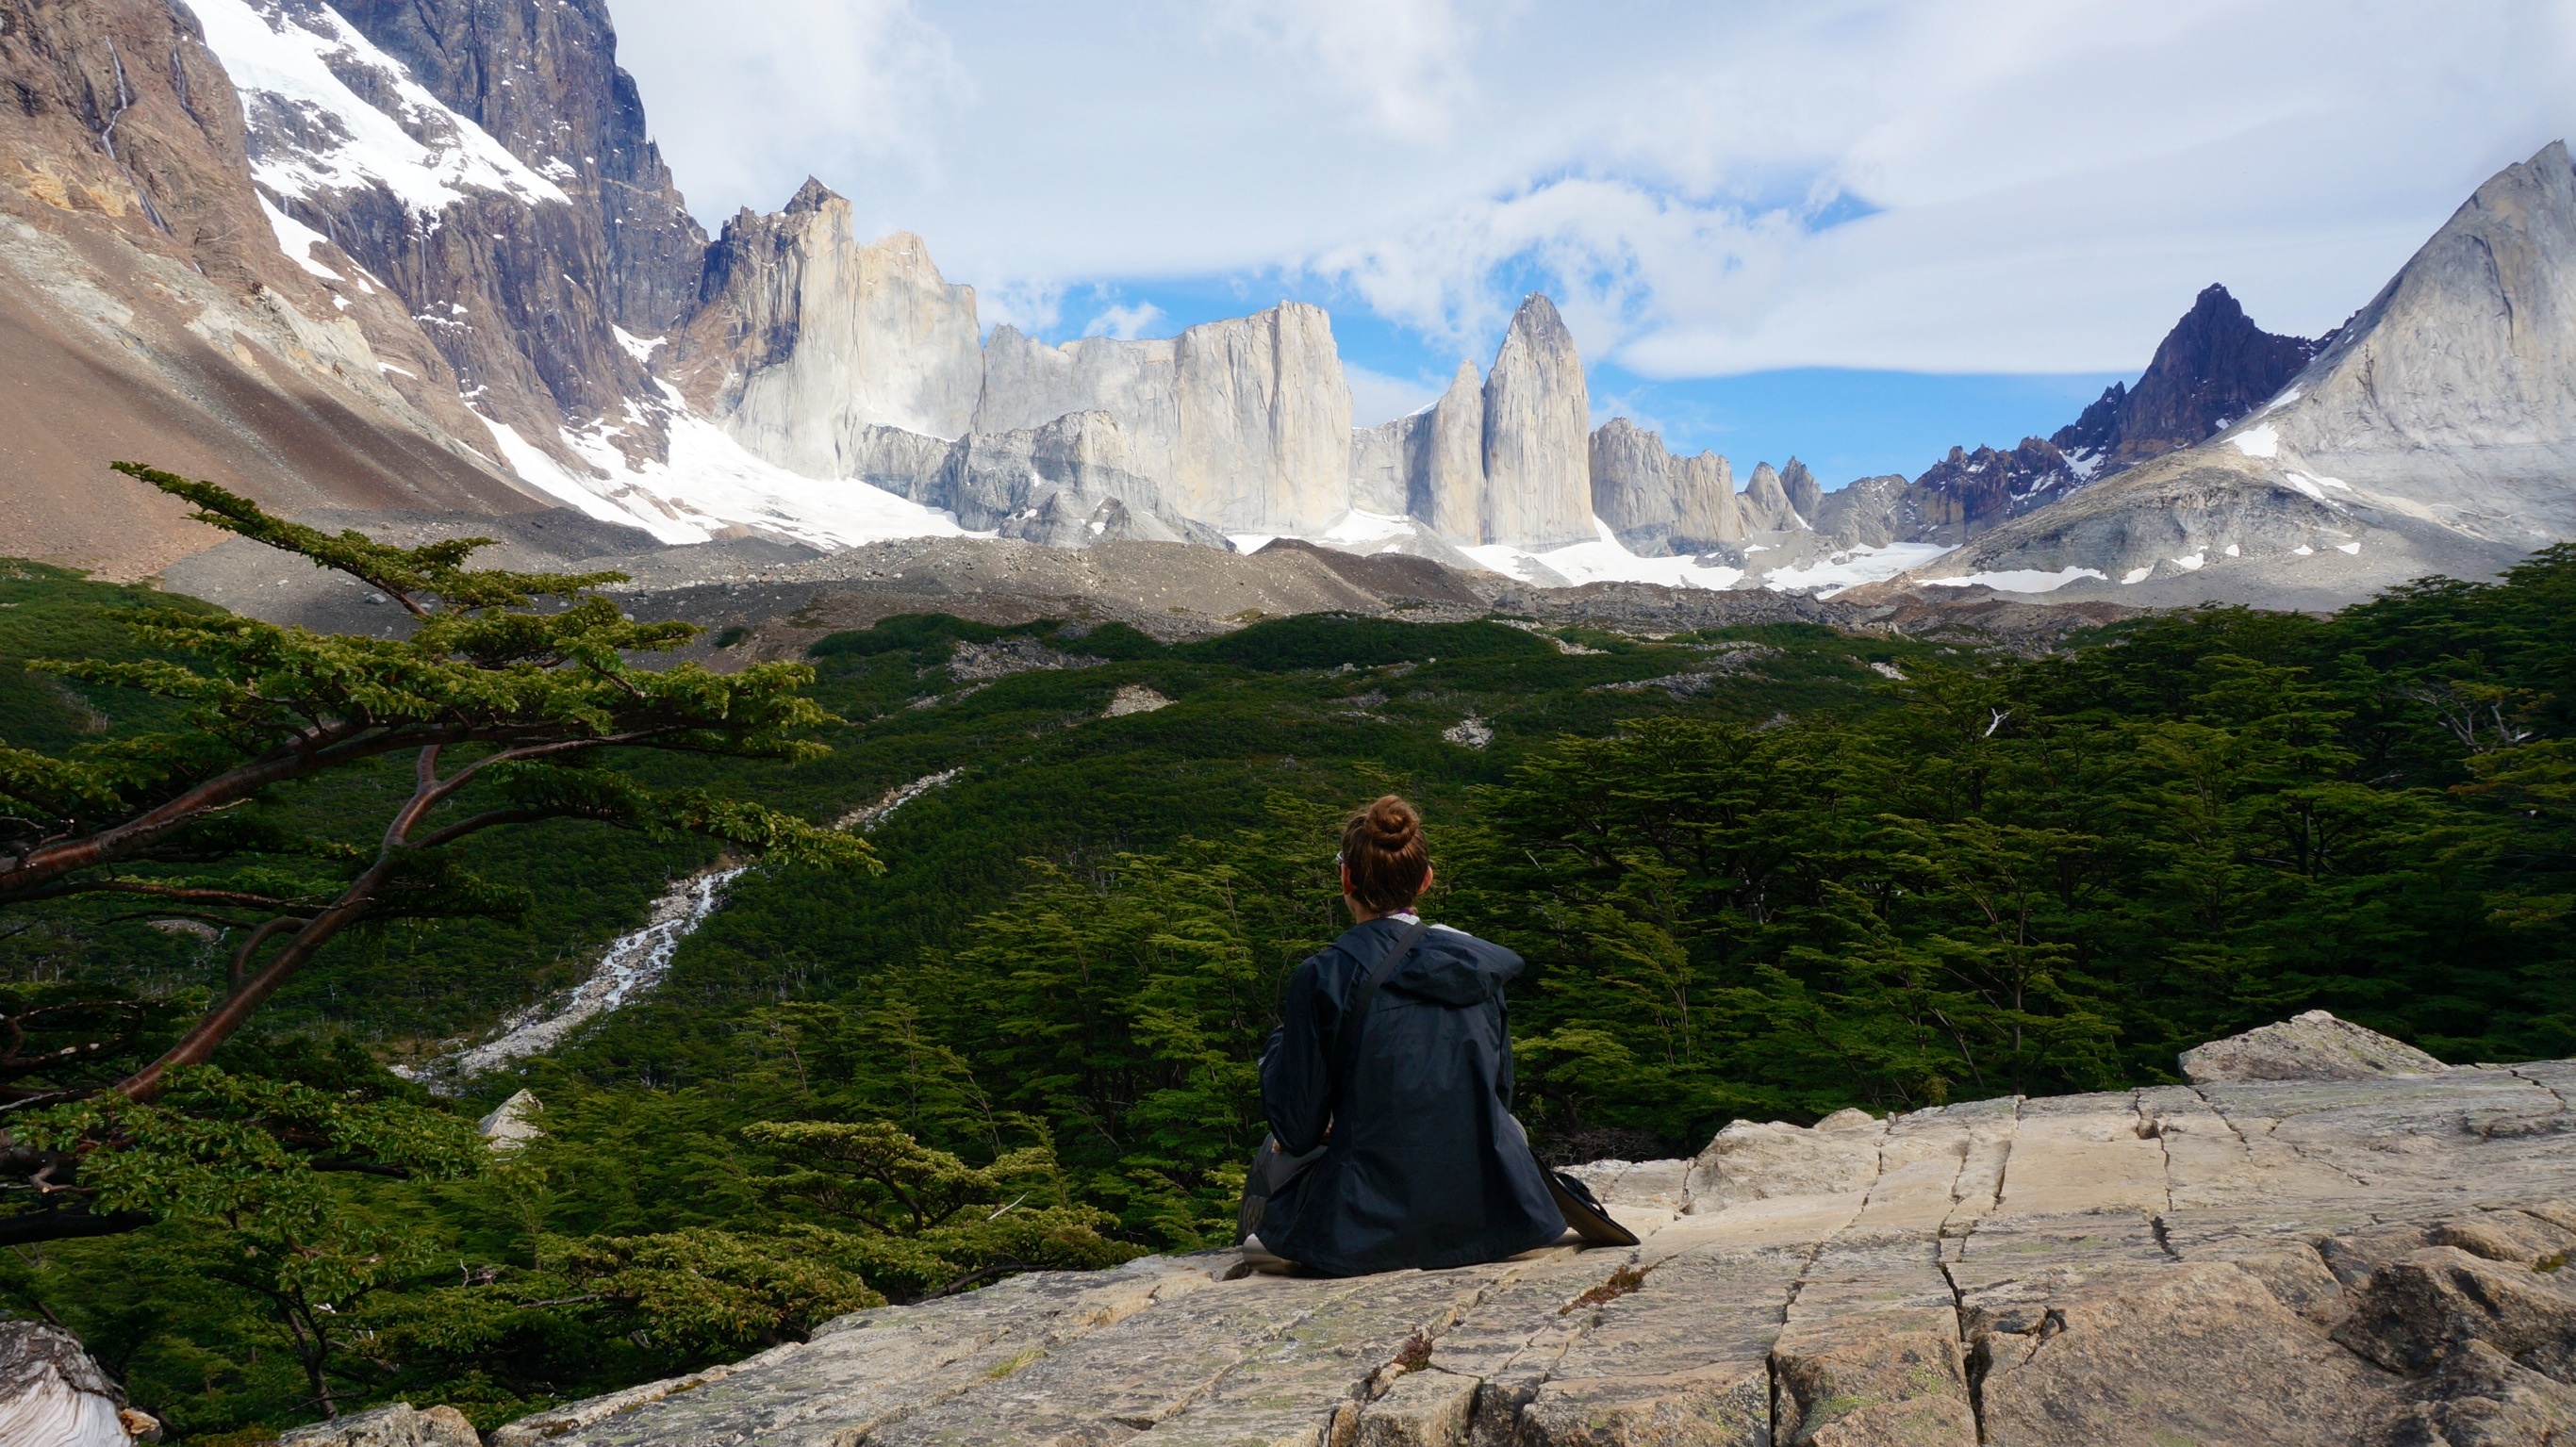
Torres Del Paine, Chile’s premier national park and one of the gems of Patagonia, is located near the tip of South America, about 2 hours from Puerto Natales. TDP is a huge reserve of patagonian wilderness containing mountains, glaciars and gorgeous lakes. Climbers, trekkers and heck even cruise passengers make their way to the park to see the epic scenery during the peak months of December-March. With something for nature lovers of all levels and abilities, the park can provide any number of experiences depending on what you are looking for.


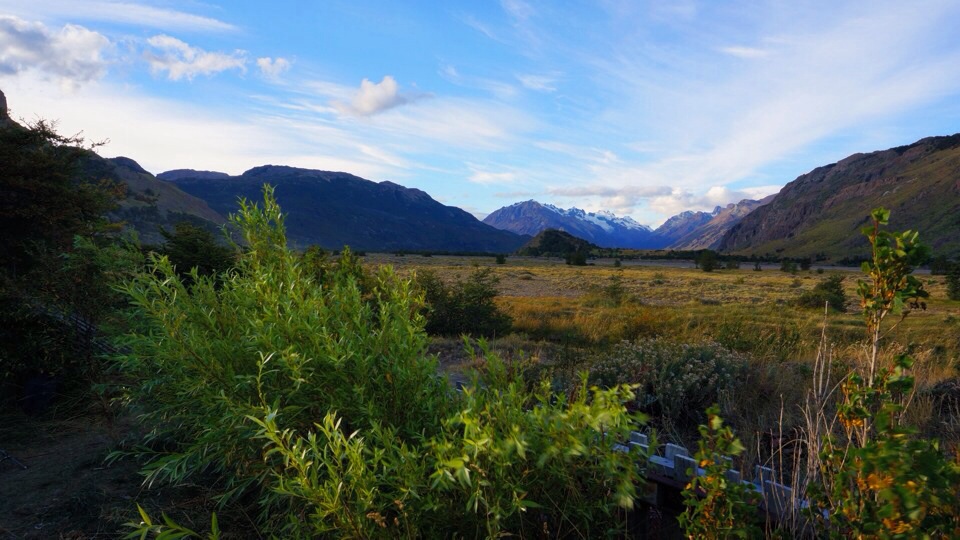
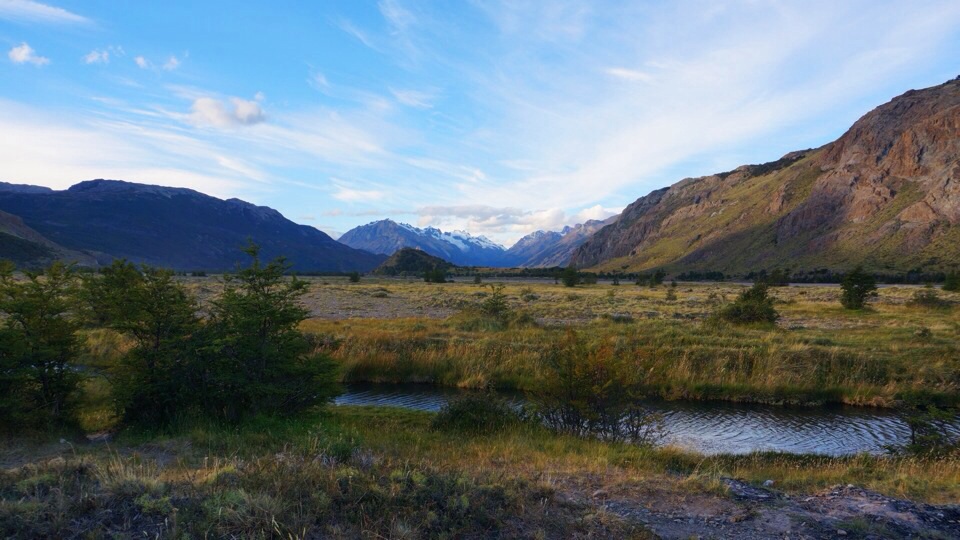
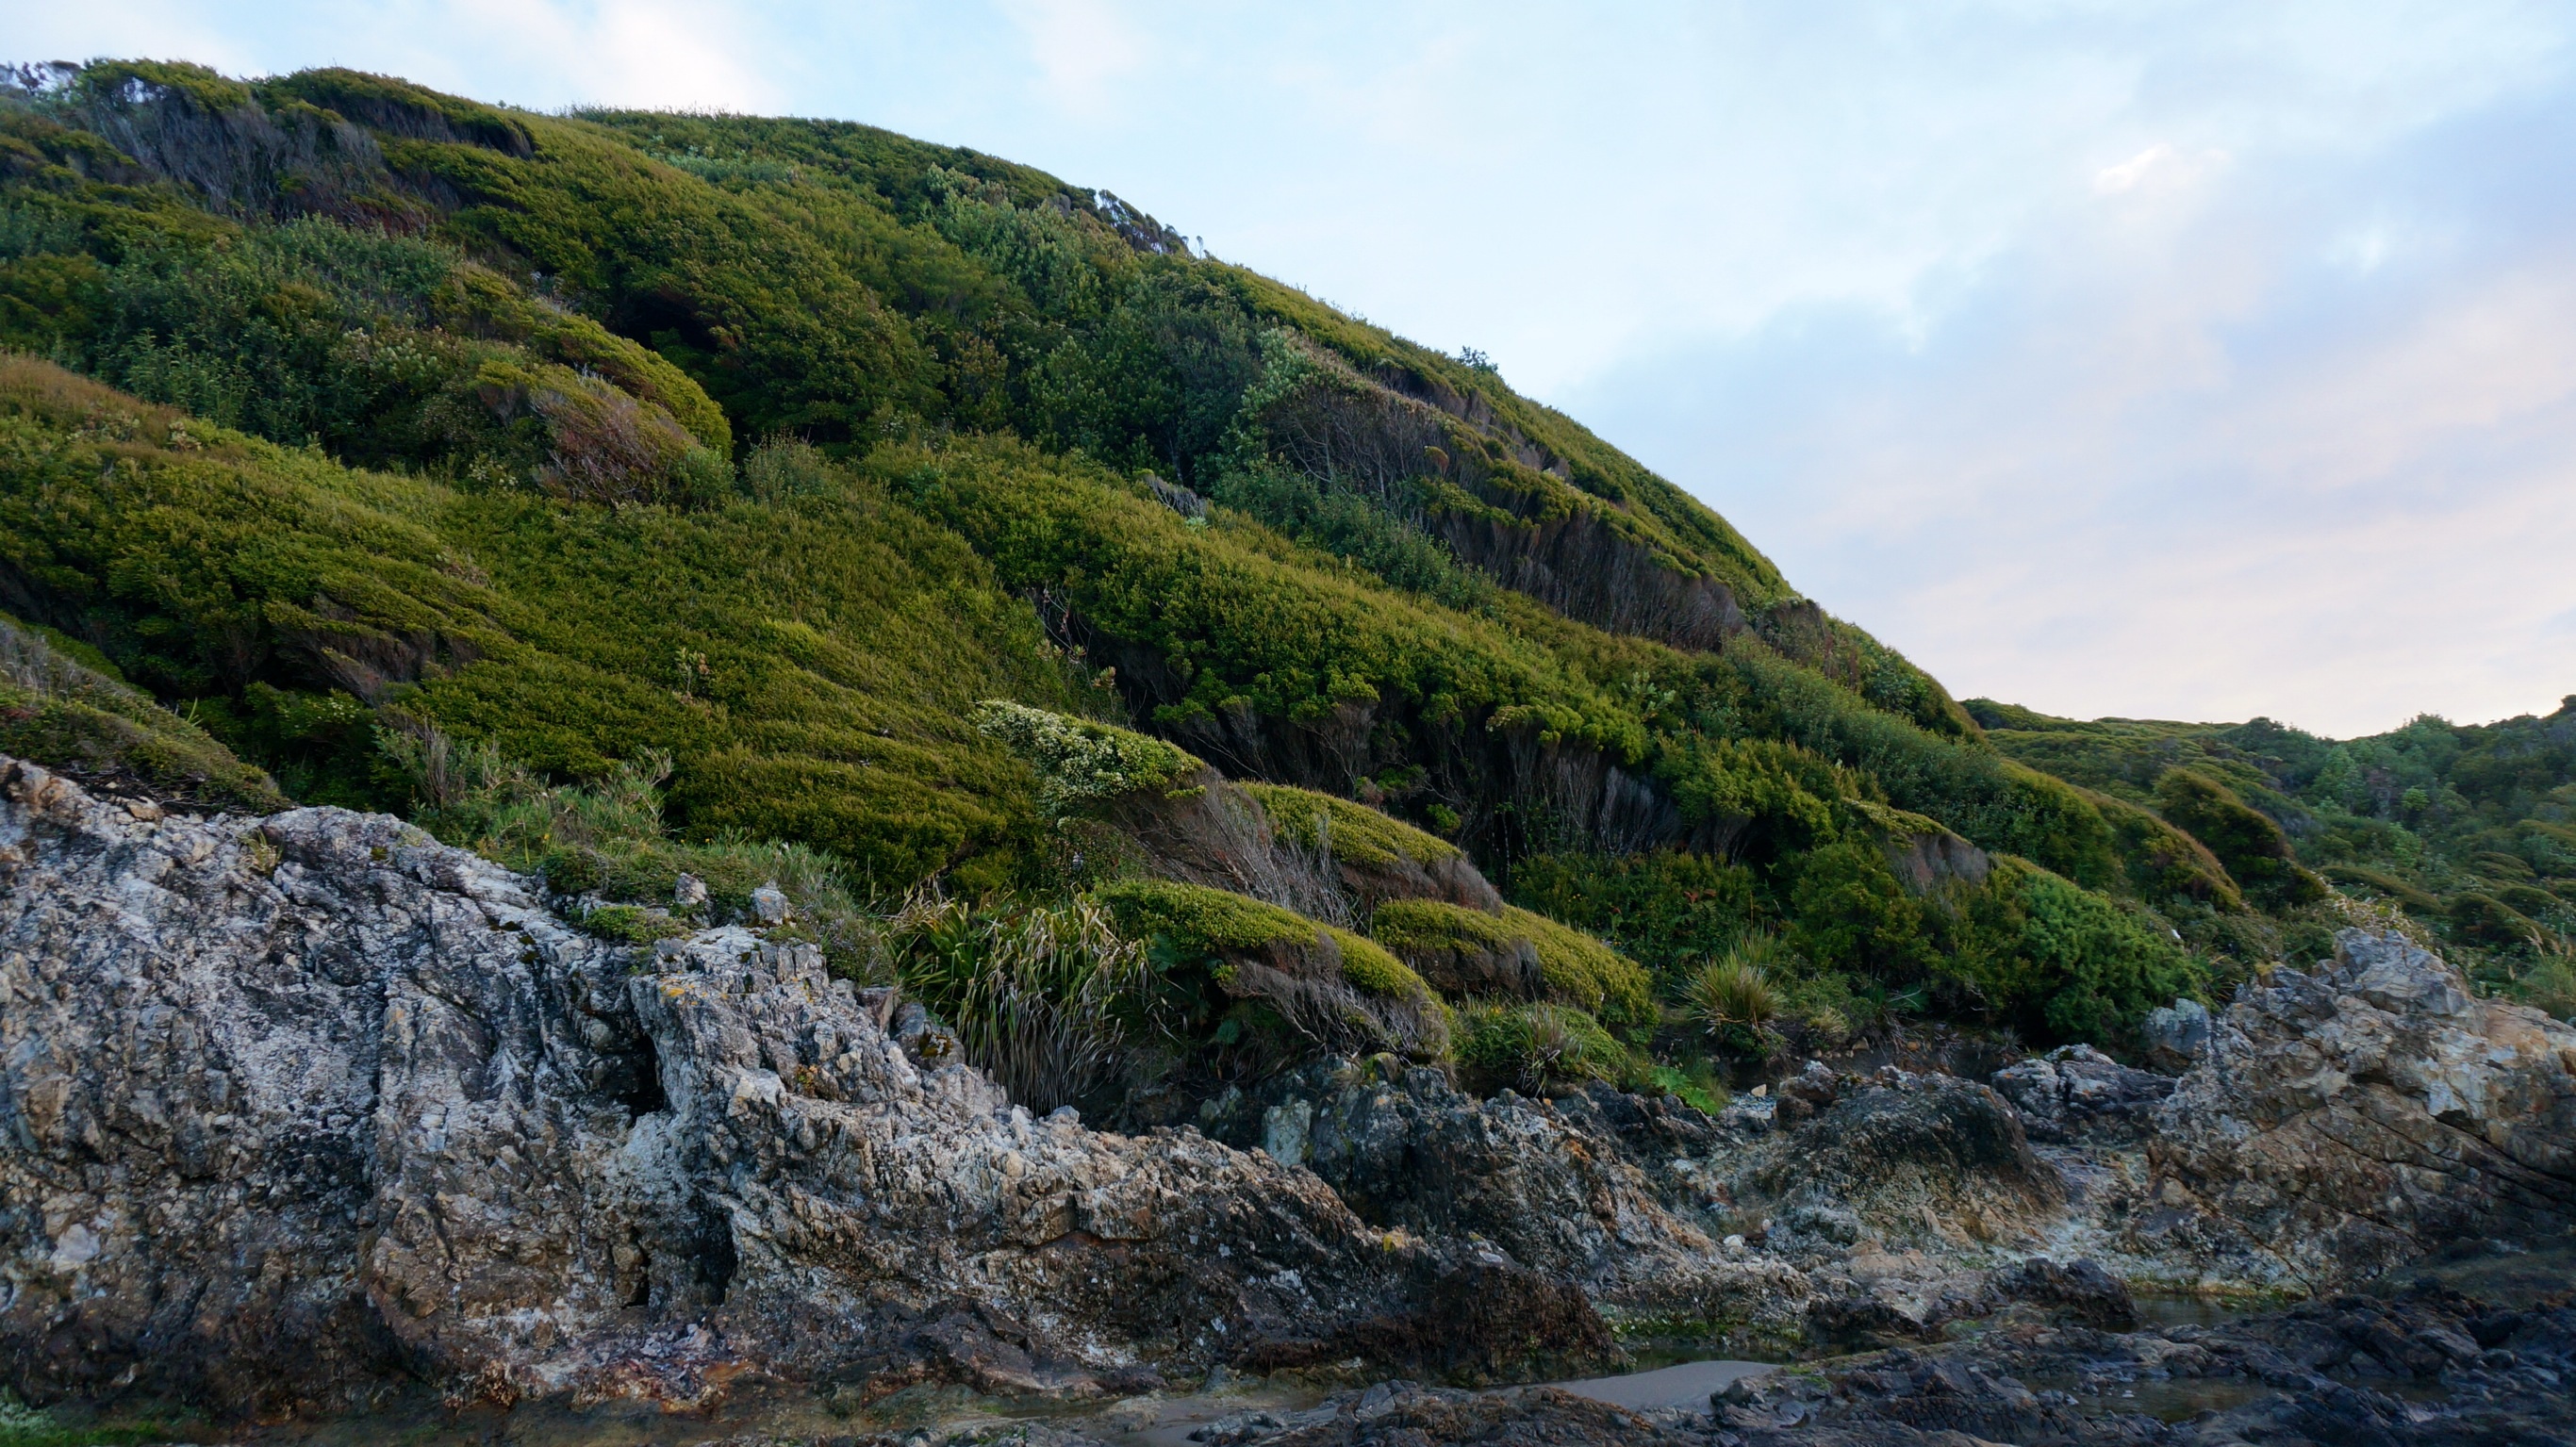
Even the park entrance has beautiful views.
Intrigued? Perhaps now you want to go to Torres Del Paine (TDP) and everyone keeps talking about the infamous ‘W’ – a 4-5 day trek through a portion of the park. If you are already brave enough to embark on a multi day trek and you have the time to get all the way down to the southern tip of South America, why not push yourself a bit further and go for the entire circuit aka the ‘O.’ For a few extra bags of pasta and a stronger degree of body odor emanating from your hiking shirt, you will gain so much. This is a trek doable for those at different experience levels, as was the case with us. In this post we will share tips based on our experience on the circuit trek in February 2014 to help you plan and enjoy your own trek through the beautiful TDP.
Meet the trekkers:

Jordan – Nature lover, fearless guerilla camper, biked across the USA using only a tent, comfortable without showering for extended periods of time.
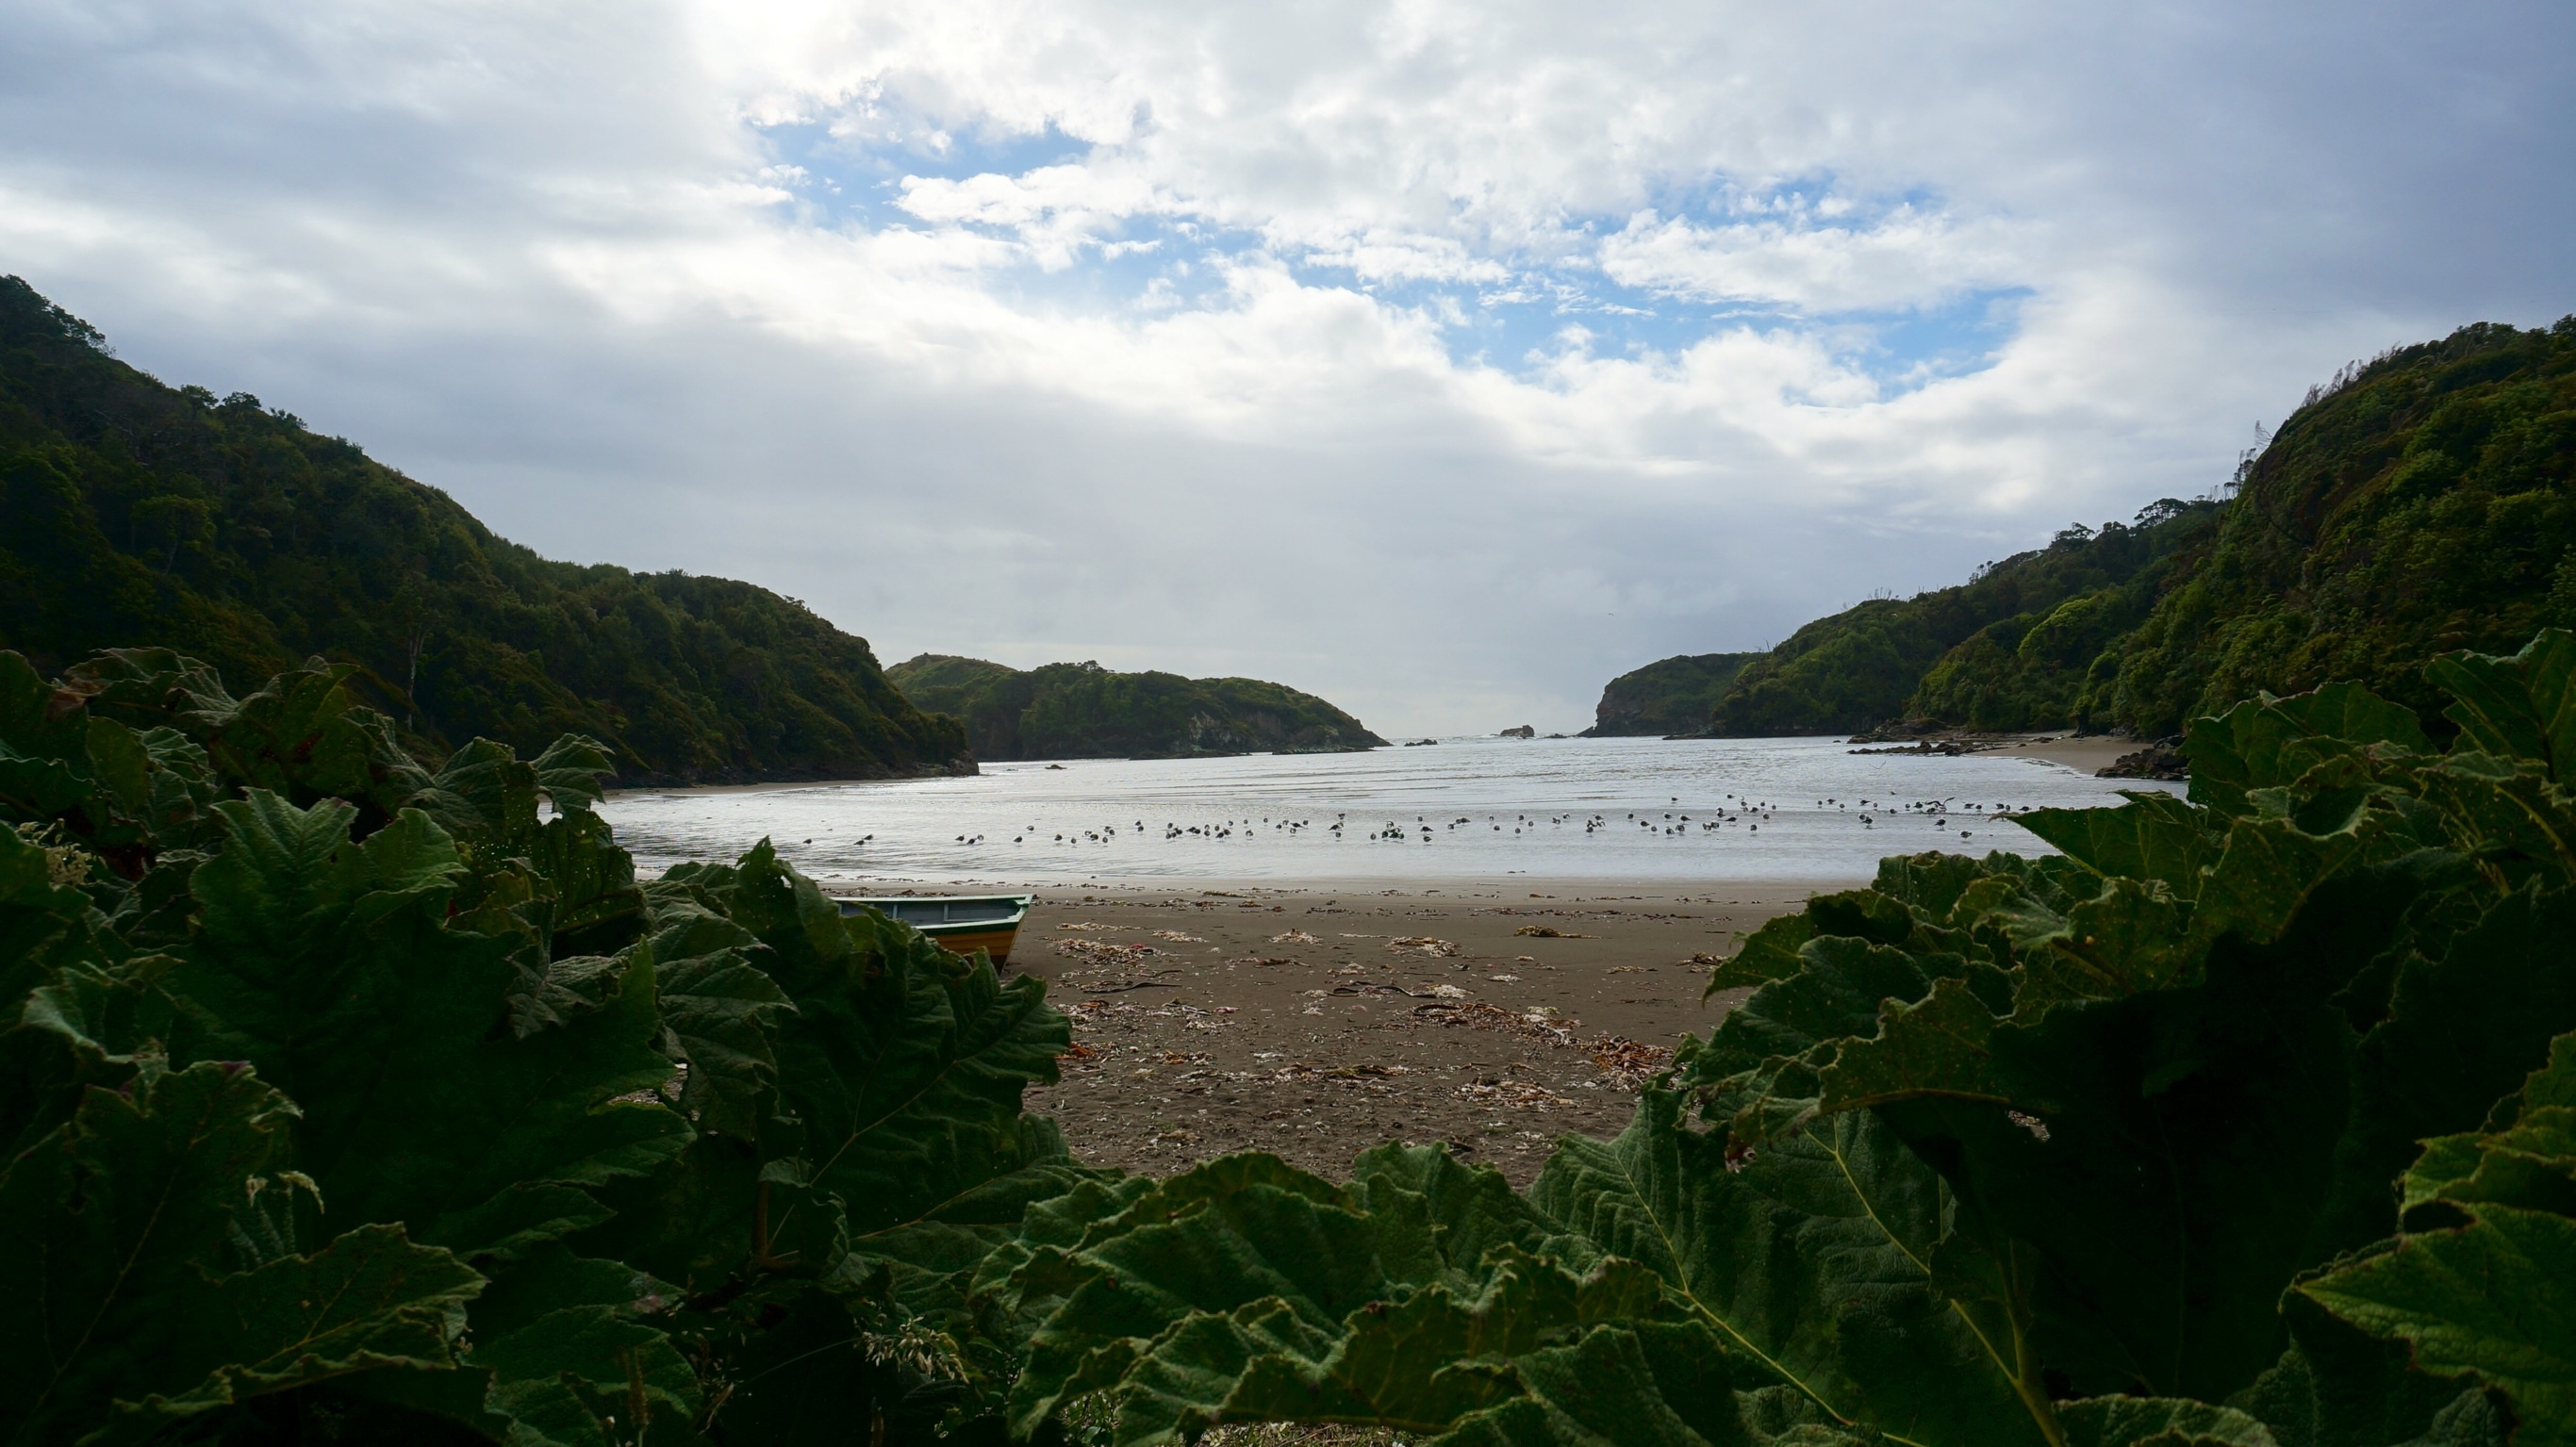
Emma – Nature lover, trekking experience limited to college trip and 3 day Chiloé trek, fearful of passing out by the smell of her own sweat after a few days on the trail.
What to Know Before you Go:
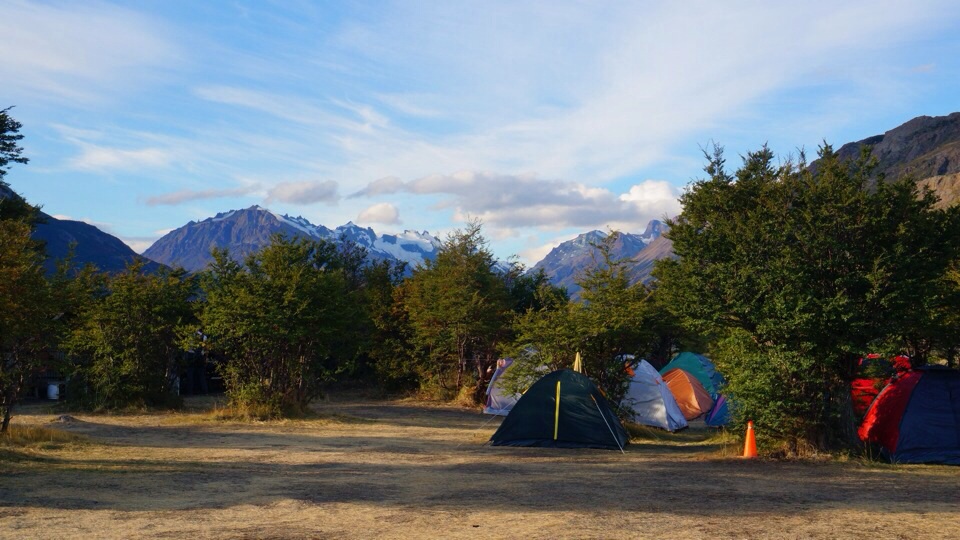
Crowds: First of all, temper your expectations to be alone in the vast Patagonian wilderness. Just because this place appears to be in such a remote locale on the map, it’s a popular destination amongst Chileans and travelers the world over aiming to take advantage of a four month window of reasonable weather. Instead of letting the crowd get you down, enjoy the fact that you are surrounded by some truly interesting, international people who can make a campsite dinner that much more fun (especially if sharing a box of wine or two)! Having done the circuit, we can also assure you that the four days on the back end (ie. not the ‘W’ portion) will contain much fewer people.
Weather and Gear: The weather can be very unpredictable in TDP. We are still pinching ourselves for having had 8 out of 9 beautiful, windless, sunny days during our circuit. However, friends of ours completed the circuit in January 2014 and they encountered rain, insane winds, and snow. Make sure your rain pants and jackets are functioning properly. Also, this would be a good time to refresh the waterproofing on your tent. We had rain proof pack covers which were great for us at night since our small tent didn’t have much room for gear storage or protection. However, we heard from many that pack covers often acted like small parachutes in the strong winds. Thus, it is recommended that you use a garbage bag liner inside your pack to protect your gear and abandon the fancy cover on the windy days. Gaiters and hiking poles are highly recommended! Great for navigating muddy trails and steep inclines. Be kind to your knees and use poles!
Go with the weather! Push yourself on days when the weather is nice because when the weather turns (as it often, unexpectedly does) you’ll find the trekking more difficult and less enjoyable. See below for tips on which days might be good to combine on the trek.
Necessities: a warm hat, sun hat and sun screen are essentials!
Puerto Natales (the hub you must pass through to enter and exit TDP):
Gear Storage: If your travels are taking you beyond TDP, you will most likely have some extra stuff in your backpack that you don’t want with you on the trek. In Puerto Natales, try to find a hostel for the day before and day after your trek that offers free storage for extra luggage. Many of them do! Also, check with your hostel before renting equipment. They might have a bunch of gear left by other travelers that they can give to you.
Bus Tickets: Also, it is best to buy your bus tickets in and out of the park from your hostel because they tend to be a bit cheaper. Buses into the park leave either early in the morning (~7:30am) or at 2:00pm. It takes about 2.5 hours to get to the Laguna Amarga entrance. We recommend catching the early bus if possible, though we were able to hike to Campamento Seron even after entering the park with the 2:00 pm bus. Note that when you arrive at the park, you will be asked to leave the bus to buy your entrance ticket and watch a safety video before going back to the bus to retrieve your backpack.
Two Hostel Options in Puerto Natales:
Yagan House (O’Higgins 584) – for a bit of luxury after your trek. This tiny hostel is beautiful and cozy inside, has a fantastic kitchen, gear storage and free breakfast with eggs, cereal and yogurt! It is about a 15-20 minute walk from the bus station. The dorms were clean and bright and Jordan and I were even able to rent the single room (which had a bed big enough for 2) for a rate of $17.000 pesos a night.
Josmar 2 (Esmerelda 517) – for a more budget stay, with dorms, private rooms and campsites. It is also about a 20 minute walk from the bus station. In addition to offering grills and an outdoor kitchenette with gas, Josmar 2 has wifi and a cheap restaurant. Camping is $4,000 pesos pp. The info booth at the bus station is quite helpful – ask for a map and directions there!
Food and Water:
Water: Once you go glaciar, you never go back. The water from all streams and rivers inside TDP flows directly from the many glaciars throughout the park. It was incredible to be able to dip our Kleen Kanteen in a river and drink pristine glacial runoff. On the trail, there isn’t a need to carry more than 1/2 a liter of water at a time as you have ample opportunity to refill from the many streams along the way. As indicated by the park rangers, all the water is safe to drink.

Sprim – Despite the fact that the water tasted incredible, we were glad to have purchased several packets of Sprim/Tang (think South American gatorade). On really tough days, it was nice to have an extra dose of sugar to help get the ‘sprim’ back in our step. Or, sometimes you just feel like big sprimpin’, ya know?
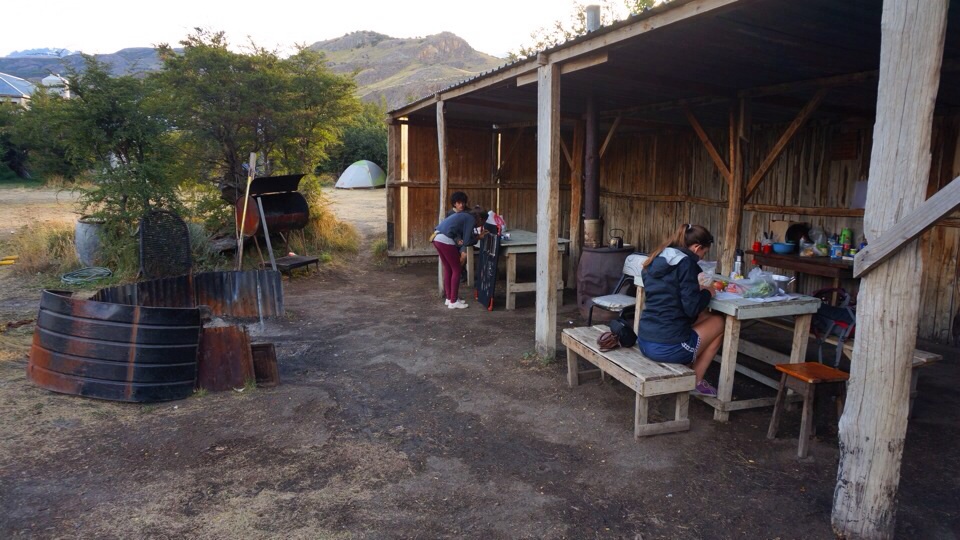
Food – You can find affordable food in Puerto Natales, go for the Uni-Marc as opposed for the boutique grocers. We carried all our own food for the trek and made some good decisions and bad decisions on our grocery run. We were incredibly inspired by an experienced Swedish trekker we met who packed so efficiently that his food weighed almost nothing. He portioned out pasta and scoops of various flavor powders to make a soup for breakfast, lunch and dinner. There we were, sitting next to him holding our weighty cheese brick, nutella jar and pound of butter, feeling a bit embarrassed. I’ll admit that some of the ridiculous items in our larder were there from my own insistence. Like the containers of jam and honey which I ‘needed’ for our oatmeal. We also realized that many of the campsites sell relatively cheap bags of pasta (~$1.000 pesos) and boxed wine (~$5.000 pesos) which are highly recommended if you want to save space and weight. However, do your best to not give into the temptation to purchase ANY preparared food items at the refugios. You may think that a $25 hamburger is worth it on day 5 when wafts of grilled beef welcome you to camp, but don’t be fooled! (The one exception is the $2 hot dog/beer combo offered at the kiosko near the hotel towards the park exit, that’s worth going for twice.) See the campsite descriptions below for those with a kiosko for provisions.

This is how the pasta and boxed wine gets transported to the campsites. Many thanks to the strong horses and hard working Gauchos!

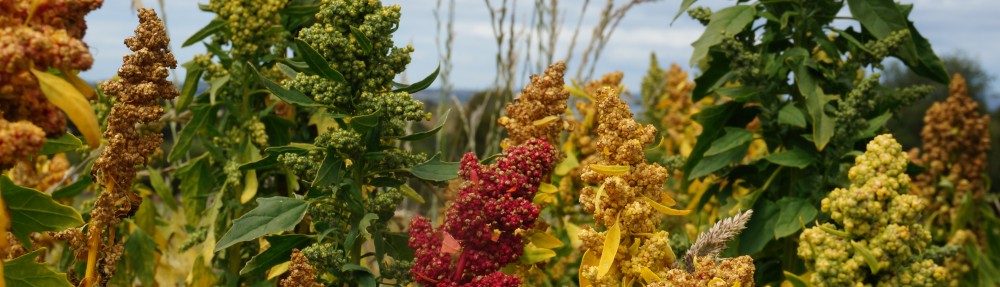
There are many edible berries growing in TDP. Here is a picture of one kind. I don’t know the name of it, but it is a pinkish, fat little berry. We saw a ranger eating them and he told us they were ok! Apparently the same berries grow in Russia, according to some Russian hikers we met.
Good groceries:
Pasta- cooks faster than rice, small, light
Powdered flavor packets – a week hopped up on MSG won’t detract from your commune with nature, but may cause flashbacks later on.
Oatmeal
Peanut Butter
Salami
Questionable Groceries:
Glass Jars of Nutella: you are better off with a sleeve of chocolate cookies or a bar of chocolate. That jar is heavy! And glass? What were we thinking.
Block of cheese: A little cheese won’t hurt but its definitely heavy. Eat it first if you need your cheese fix and definitely get a nice firm cheese that wont get funky on you!
Packaging – Be wary of food containers. Dispose of all unnecessary packaging prior to leaving, perhaps utilizing ziplock bags to get rid of multiple plastics ones (ie. all your pasta could go in one). Remember, leave no trace, pack out trash!
Hikes and Campsites:
The trail map provided at the park entrance is detailed and informative. It provides distances, detailed elevation info and guidelines for how many hours each section should take. Note that the hour estimates don’t give a lot of buffer for extended breaks. We hiked at a good pace with few breaks and usually finished about 30 minutes faster than the map indicated, this was in good weather. Plan accordingly if you like to take longer breaks or keep a slower pace.
The map also tells you what time the trails ‘close’ each day. This means that after the designated closing time you are advised not to leave the campsite you are currently at because you wouldn’t reach the next site before dark.
We recommend doing the circuit counter-clockwise which is how we have listed the campsites below. Also, note that we didn’t stay at the Hotel Las Torres campsite (which we heard was free) and instead headed straight for Seron upon arriving at the park.
Porteria Laguna Amarga (park entrance) – Campamento Seron ($4.000 pesos pp)
Distance: Approx 13 KM
Hours: 4.5
Kiosko with provisions
Flush toilets and showers
Special Notes: Beware of mosquitos! Bring bug repellent.

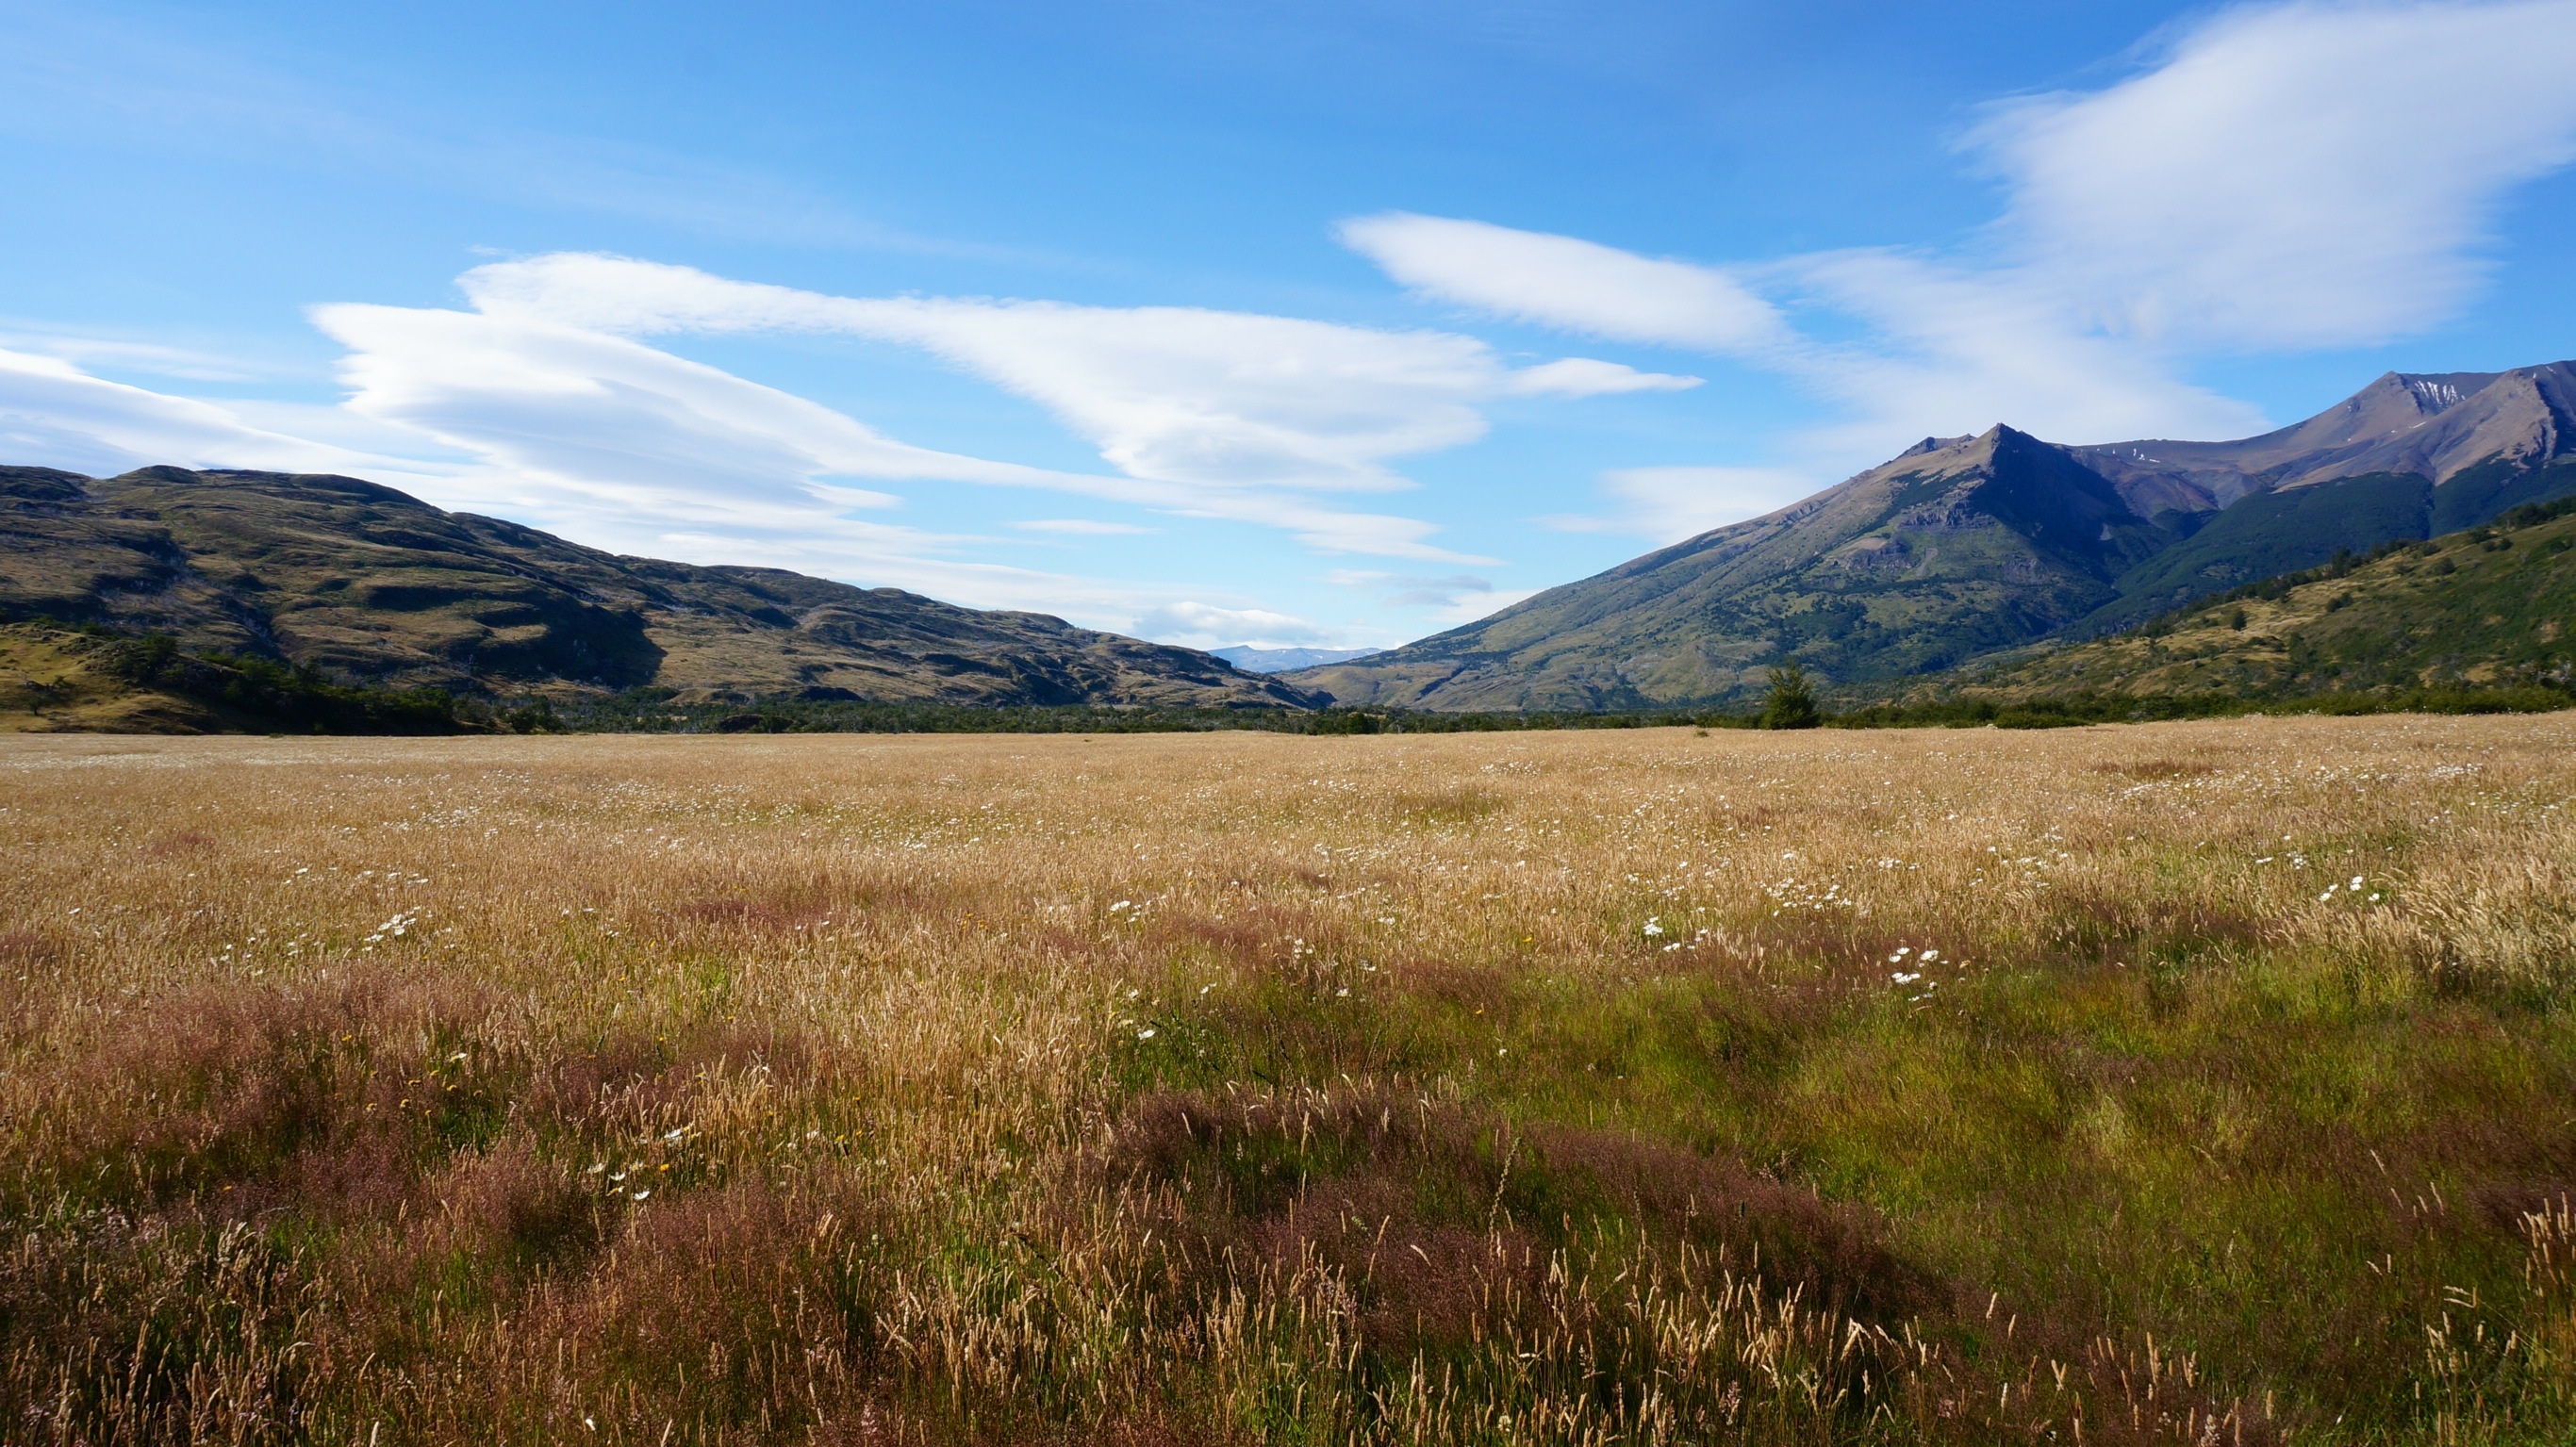
This hike was relatively flat and unchallenging. You mostly walk through meadows and get your first glimpse of the beautiful turquoise color of the glacial rivers. Not filled with the most stunning scenery. Can be combined with the Seron – Dickson leg for a long but (altitude-wise) not very challenging day.
Campemento Seron – Campamento Dickson ($4.000 pesos pp)
Distance: 18 km
Hours: 6
Kiosko with provisions
Flush Toilets and showers

This is the extremely windy stretch of the hike.

Here you can see Campsite Dickson, mountains and glaciar in the background!
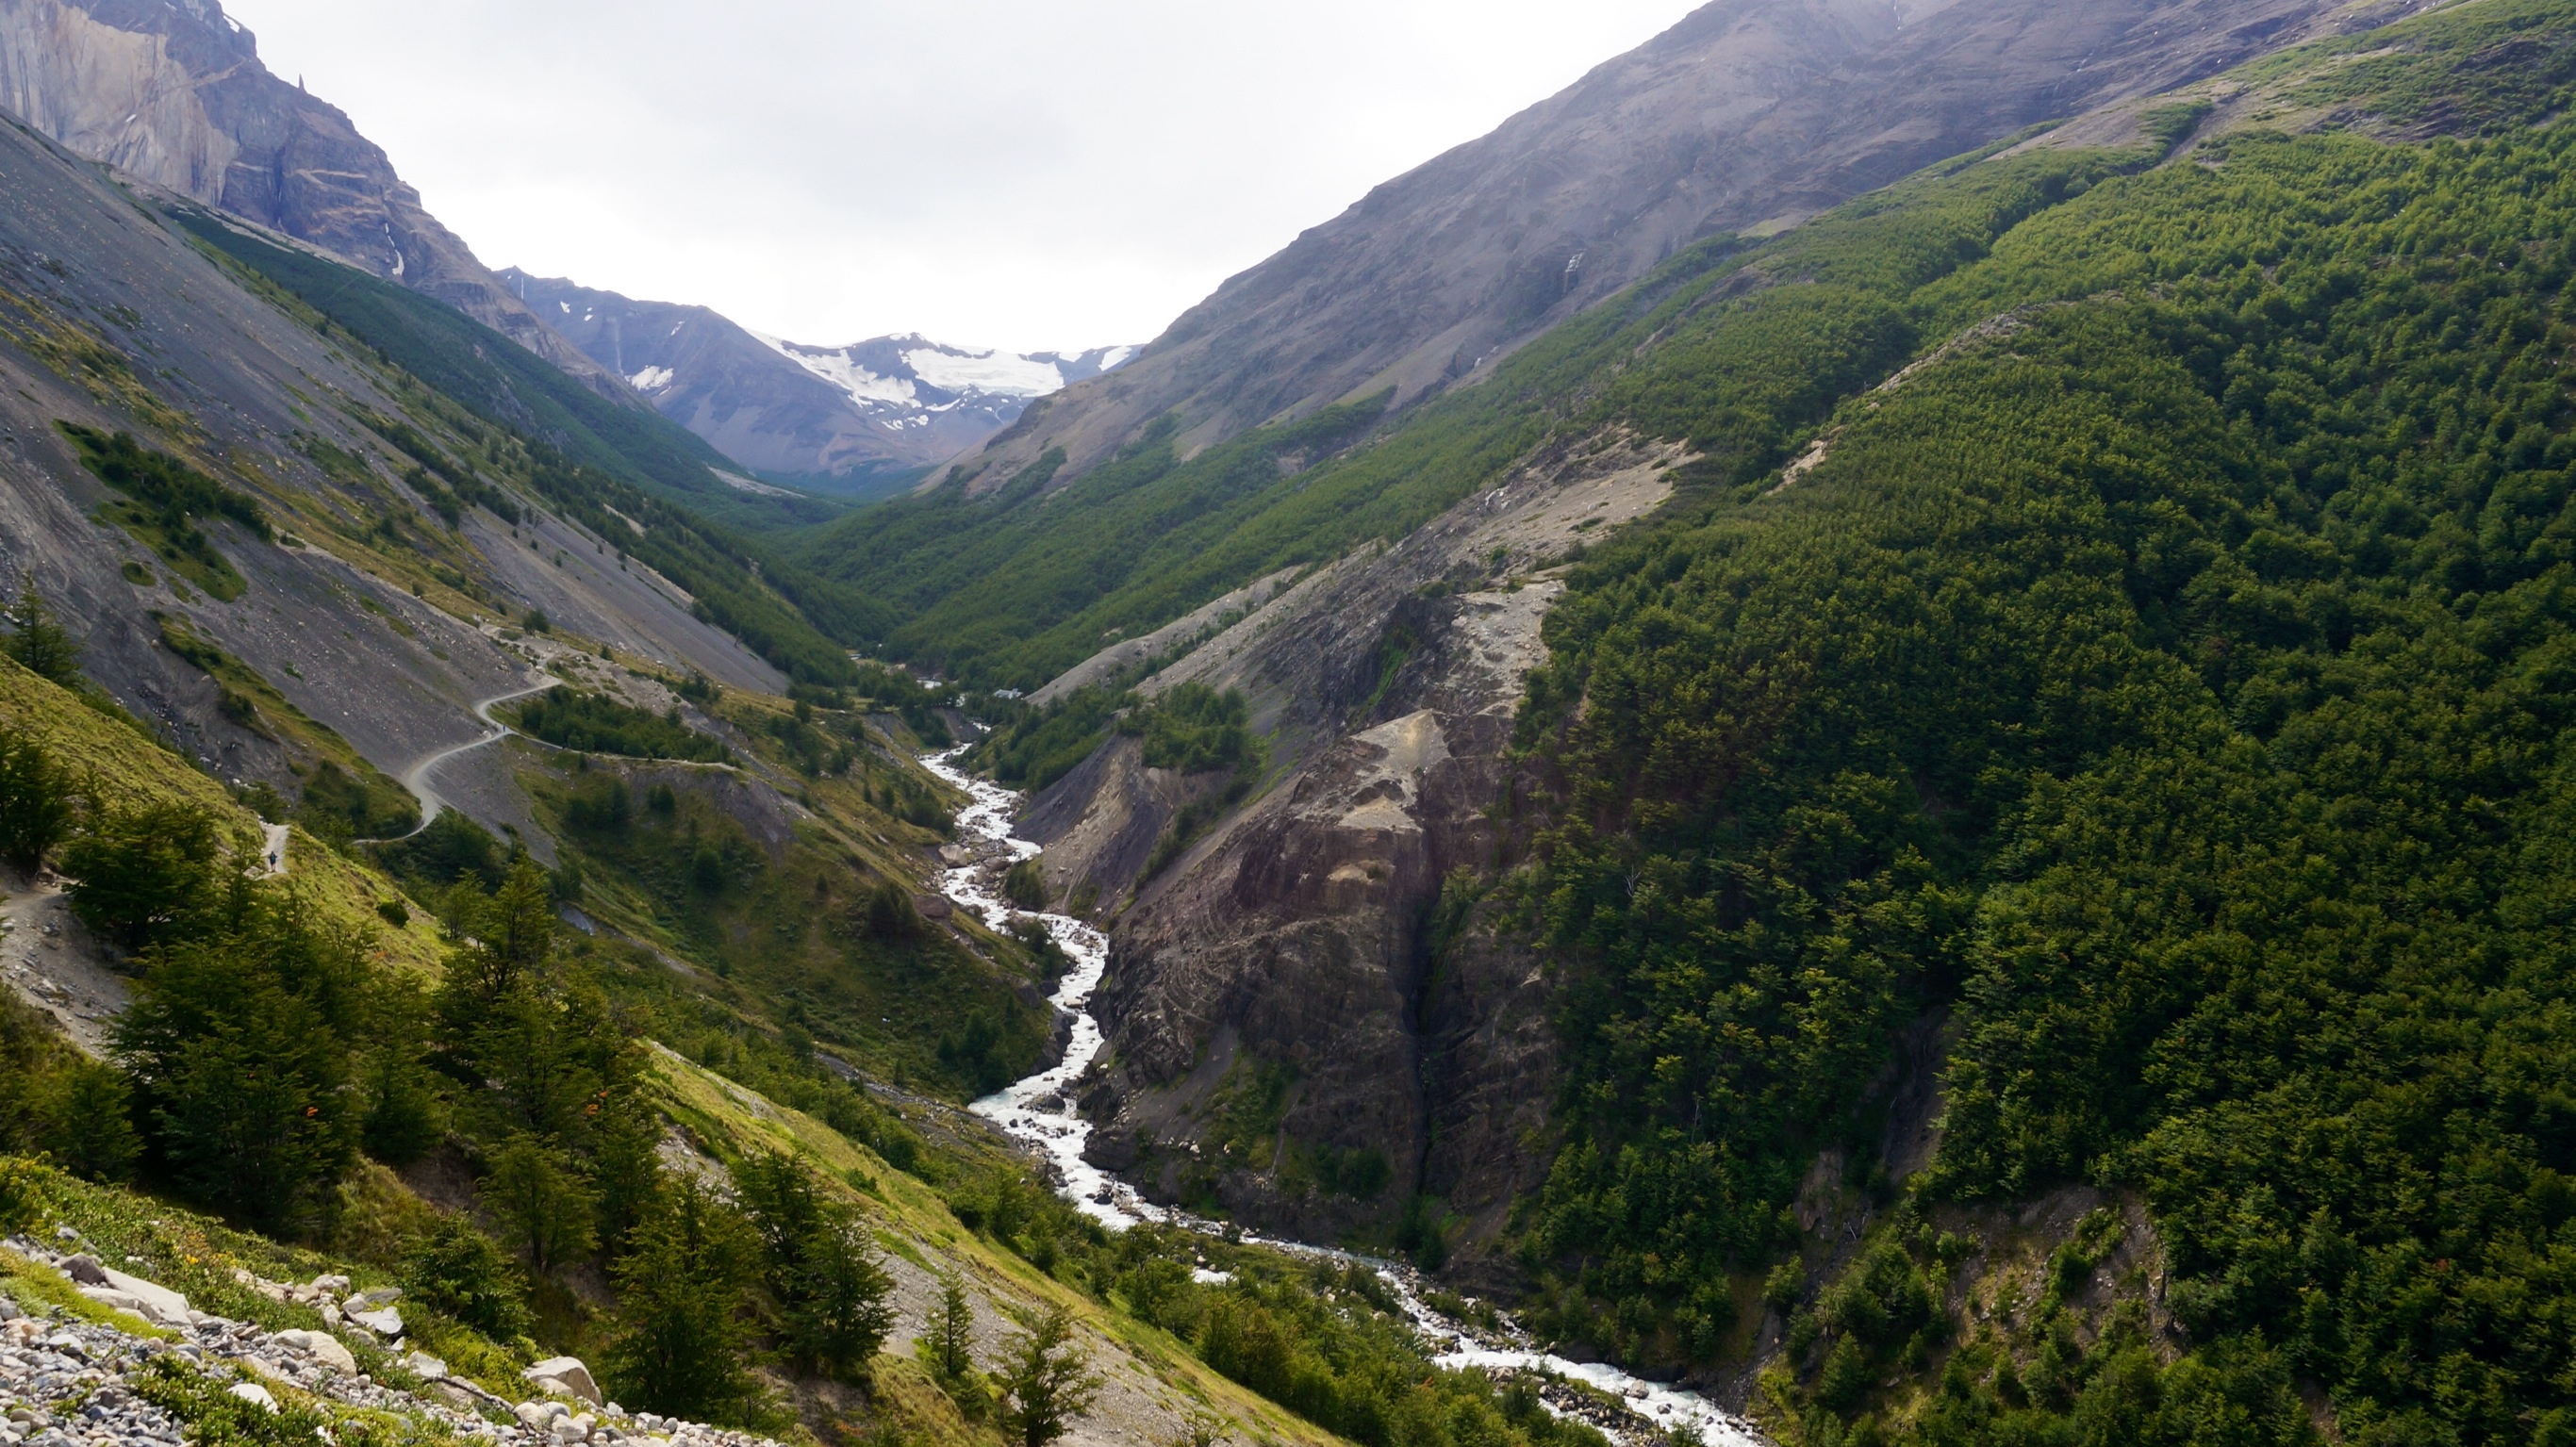
The hike to Dickson takes you through meadows, provides the first glimpse of the many mountain top glaciars in the park, and offers stunning views along an incredibly windy stretch next to Lago Paine. Campamento Dickson is situated right next to Laguna Dickson with a glaciar capped mountain backdrop that rumbles throughout the night. Although a long day, you might consider combining the Seron and Dickson stretch as there is relatively little altitude change.
Campamento Dickson – Campamento Los Perros (not free site, probably around $4.000 pesos pp)
Distance: 11km
Hours: 4.5
Kiosko (not sure)
Flush Toilets, not sure about showers
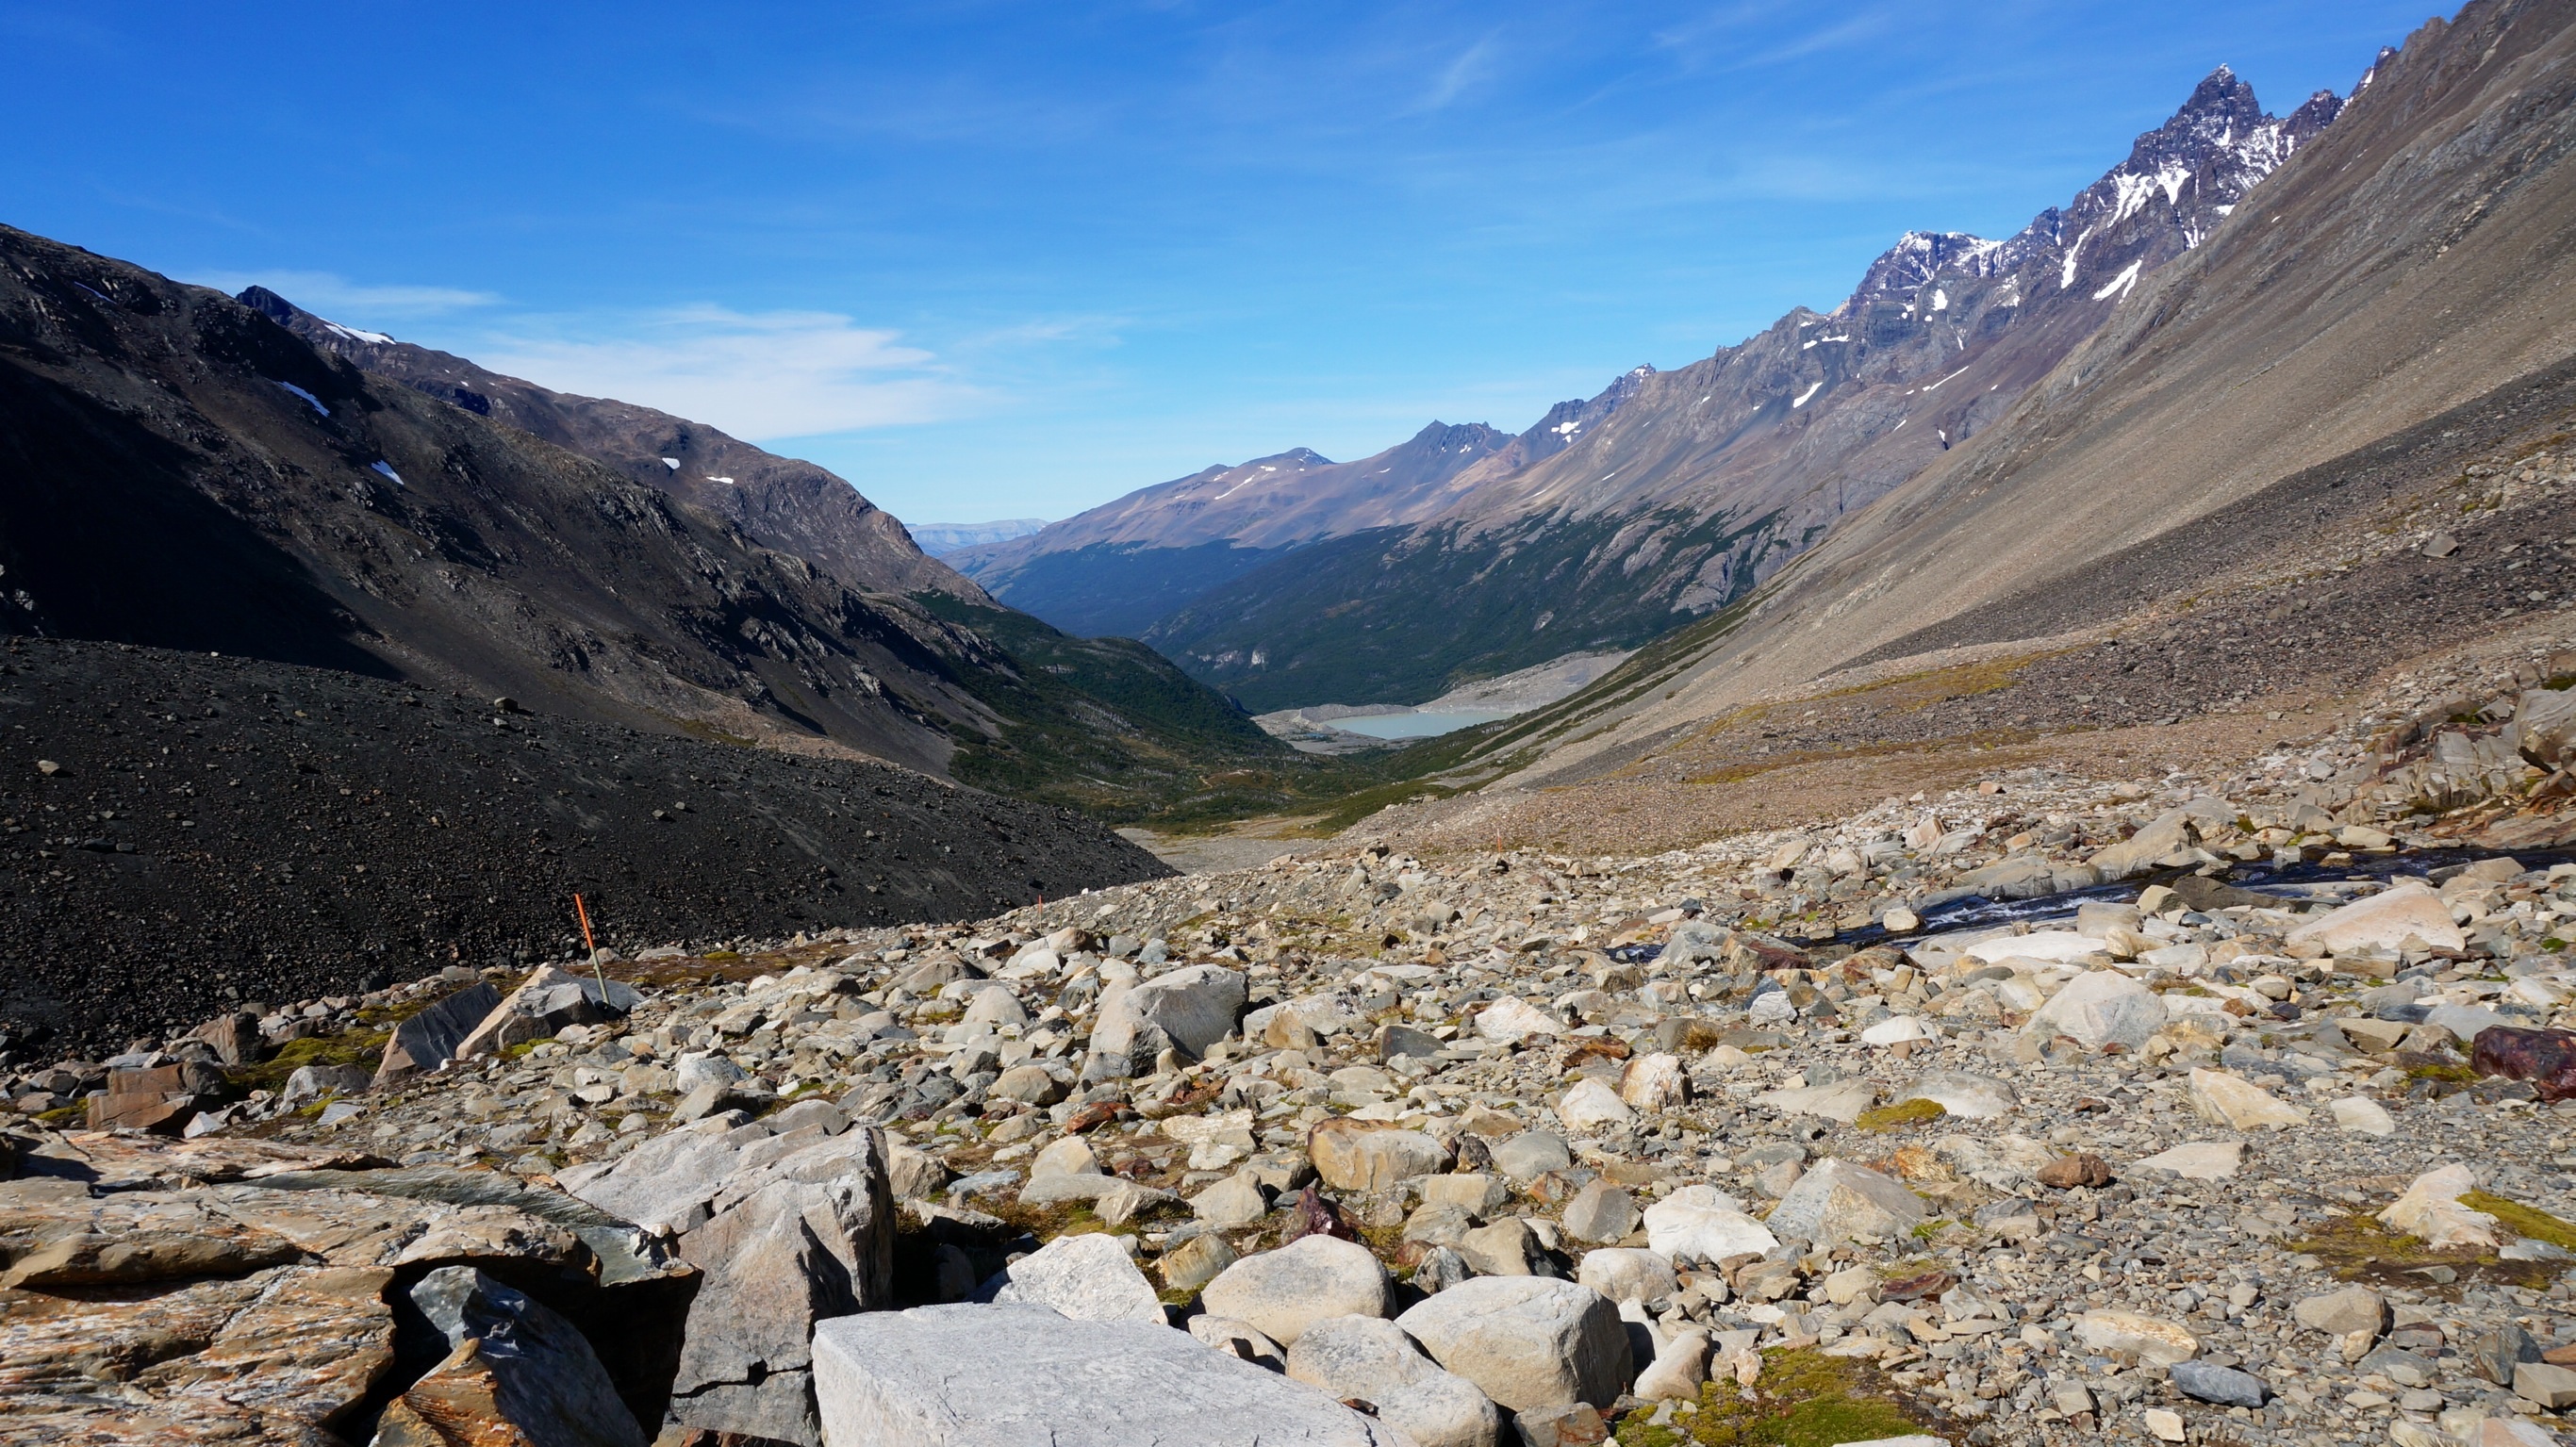
The hike from Dickson to Los Perros was a pleasantly short hike. You spend much of this hike walking though the forest. Mirador Valle de los Perros offers incredible views as you traverse along a mountain crest. As you get very close to Los Perros you’ll see a glaciar dipping off a mountain into a lake that sits right next to a fresh water lake. You’ve got to scramble up some rocks to see the glaciar lake, so be sure not to miss it! We didn’t end up sleeping at Los Perros and instead combined this hike with the John Gardiner pass because we were told the weather was ideal for the difficult climb. I will say that the bathrooms did feel the dirtiest at Los Perros compared to the others we encountered.
Campamento Los Perros – Campamento Paso (FREE campsite!)
Distance: 8 km
Hours: 6
No provisions
Pit toilet, no showers
Special Note: Extremely difficult elevation on this section!
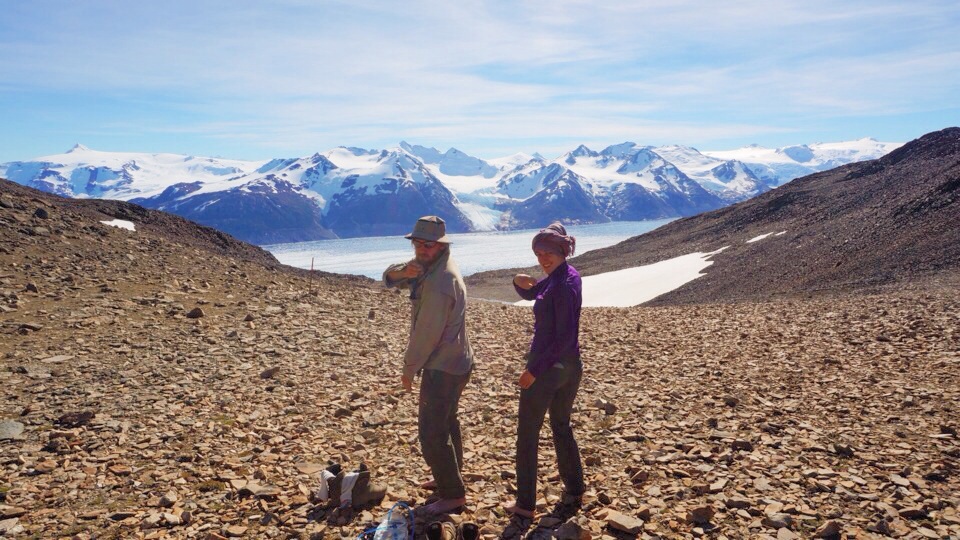
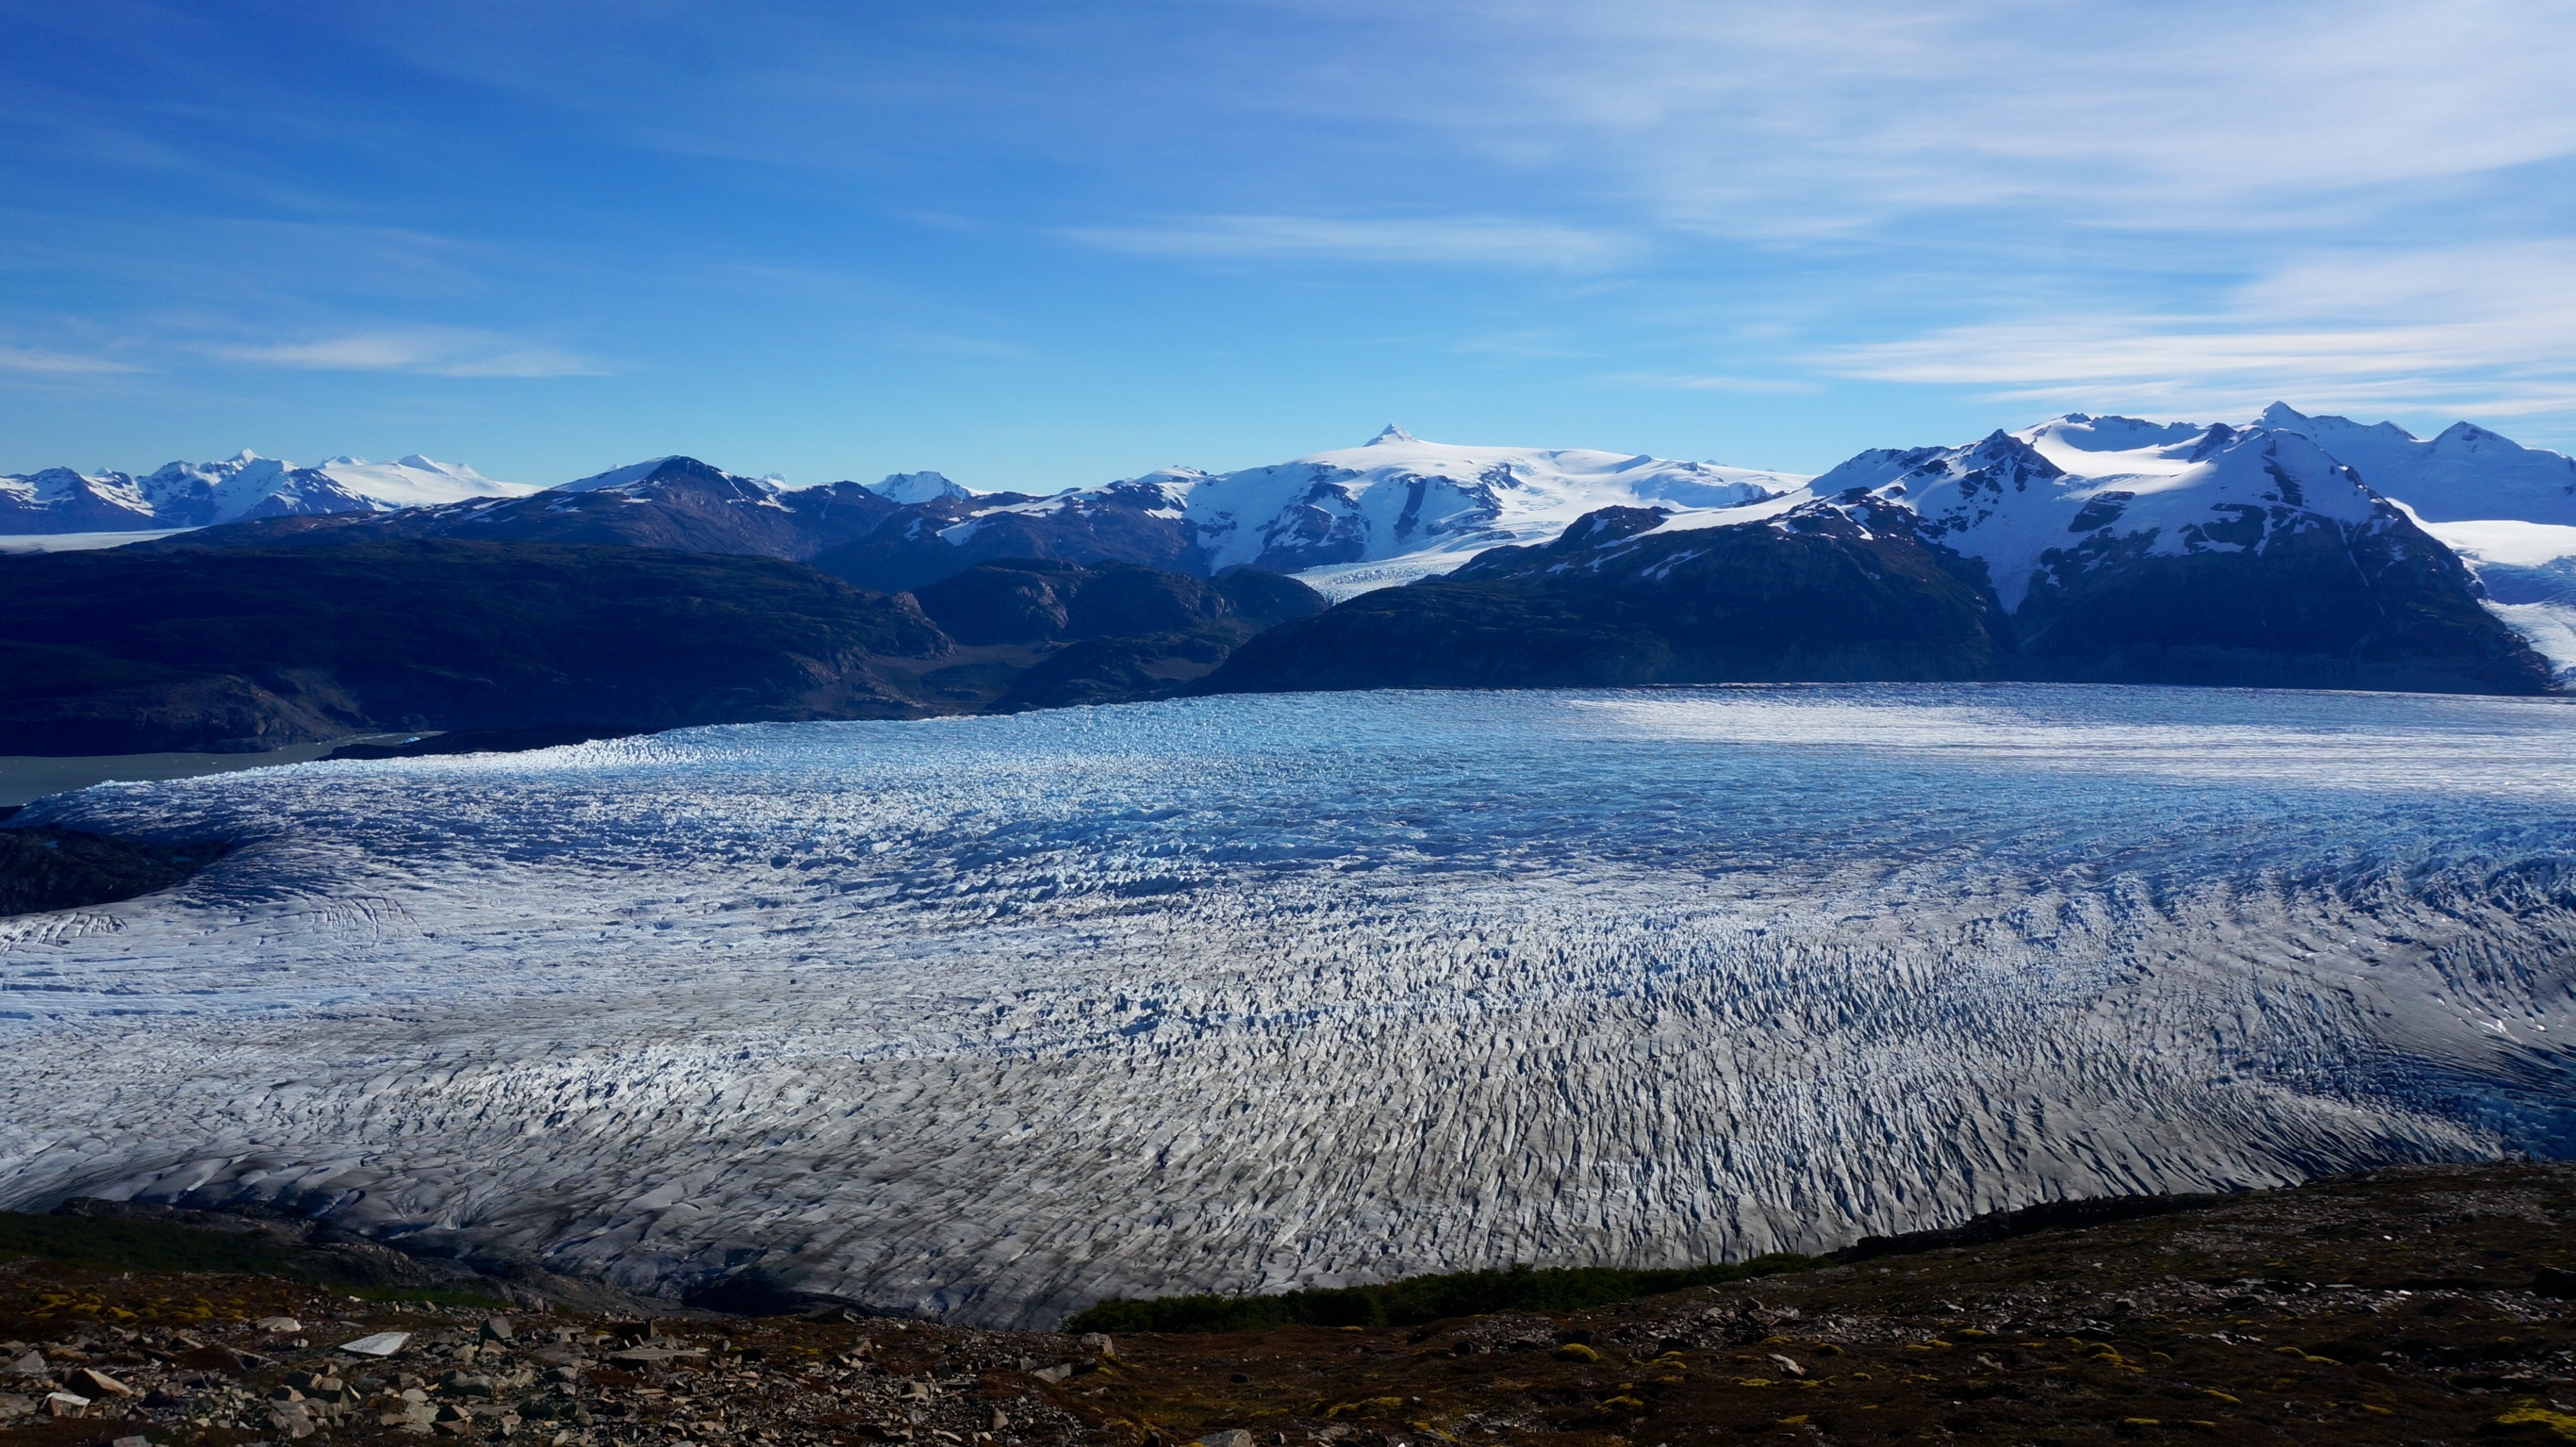
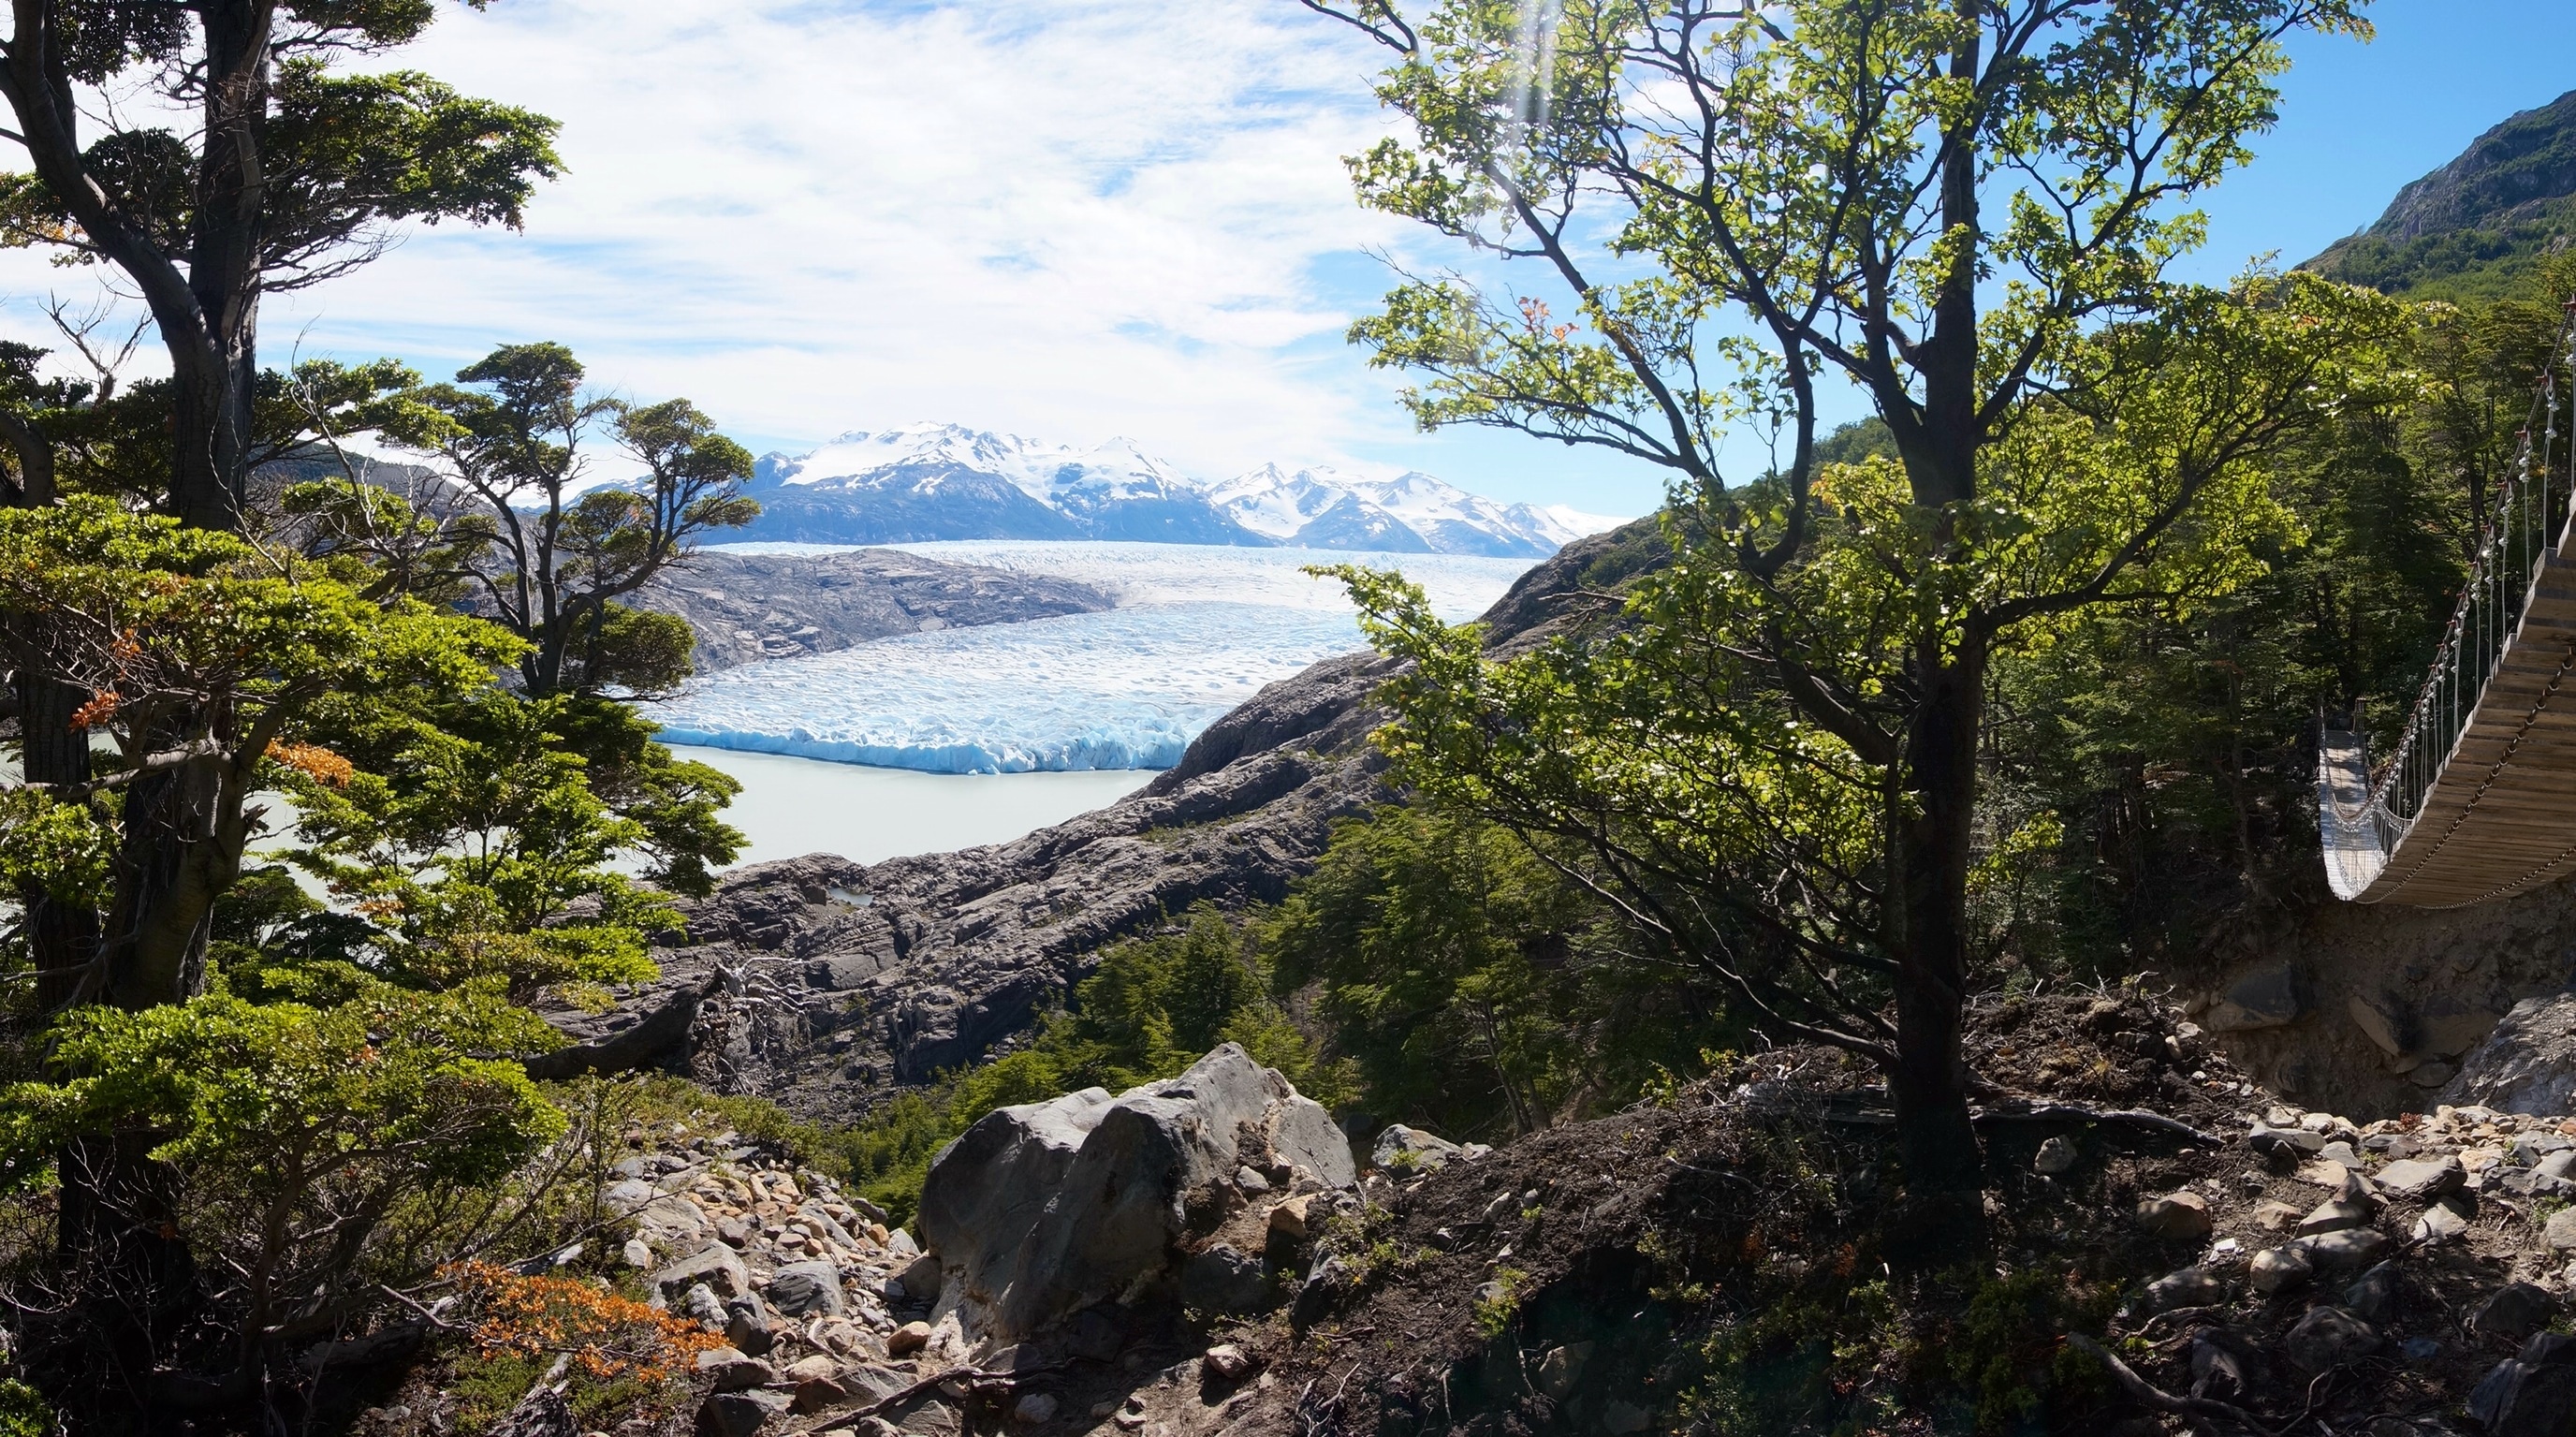
Get out the gaiters because the beginning of this section was extremely muddy! After you get out of the muddy forest you find yourself scrambling up the rocky and exposed John Gardiner Pass. This hike takes you up 600m and was the most difficult part of the trek for us by far. We were lucky to do it in perfect weather conditions. If the weather is bad or there is a lot of snow the rangers might close the pass which means an extra night at Los Perros or possibly not getting through. Our badass friends from Boston who came in January were told that the pass was closed but they went for it anyway in the snow! The toughest climb is rewarded with a life changing view at the top of the pass when you get your first glimpse of Glaciar Grey in all it’s entirety. Leave yourself a nice chunk of time to hang out up there because its a view you’ll want to soak in for a while (if the weather permits anyway!). Also its good to rest your legs for the incredibly steep descent in which you drop 800m in approximately 3-4 km. I may or may not have fallen several times on my butt and/or face.

Once you get out of the muddy forest, the hike is very exposed through the John Gardiner Pass.

Our first glimpse of the beautiful Glaciar Grey!


Once you hit this little waterfall, you know you are very close to Campamento Paso!
Campamento Paso – Campamento Grey (~4.000 pesos pp)
Distance: 6km
Hours: 5
Kiosko
Flush toilets and showers
Special note: First encounter with the ‘W’ – be prepared for a much bigger and more crowded campsite. I took the coldest shower of my life here only to realize hot water came on at 7pm…be sure to ask the ranger when the hot water comes on! Beware: hot water comes with long lines!
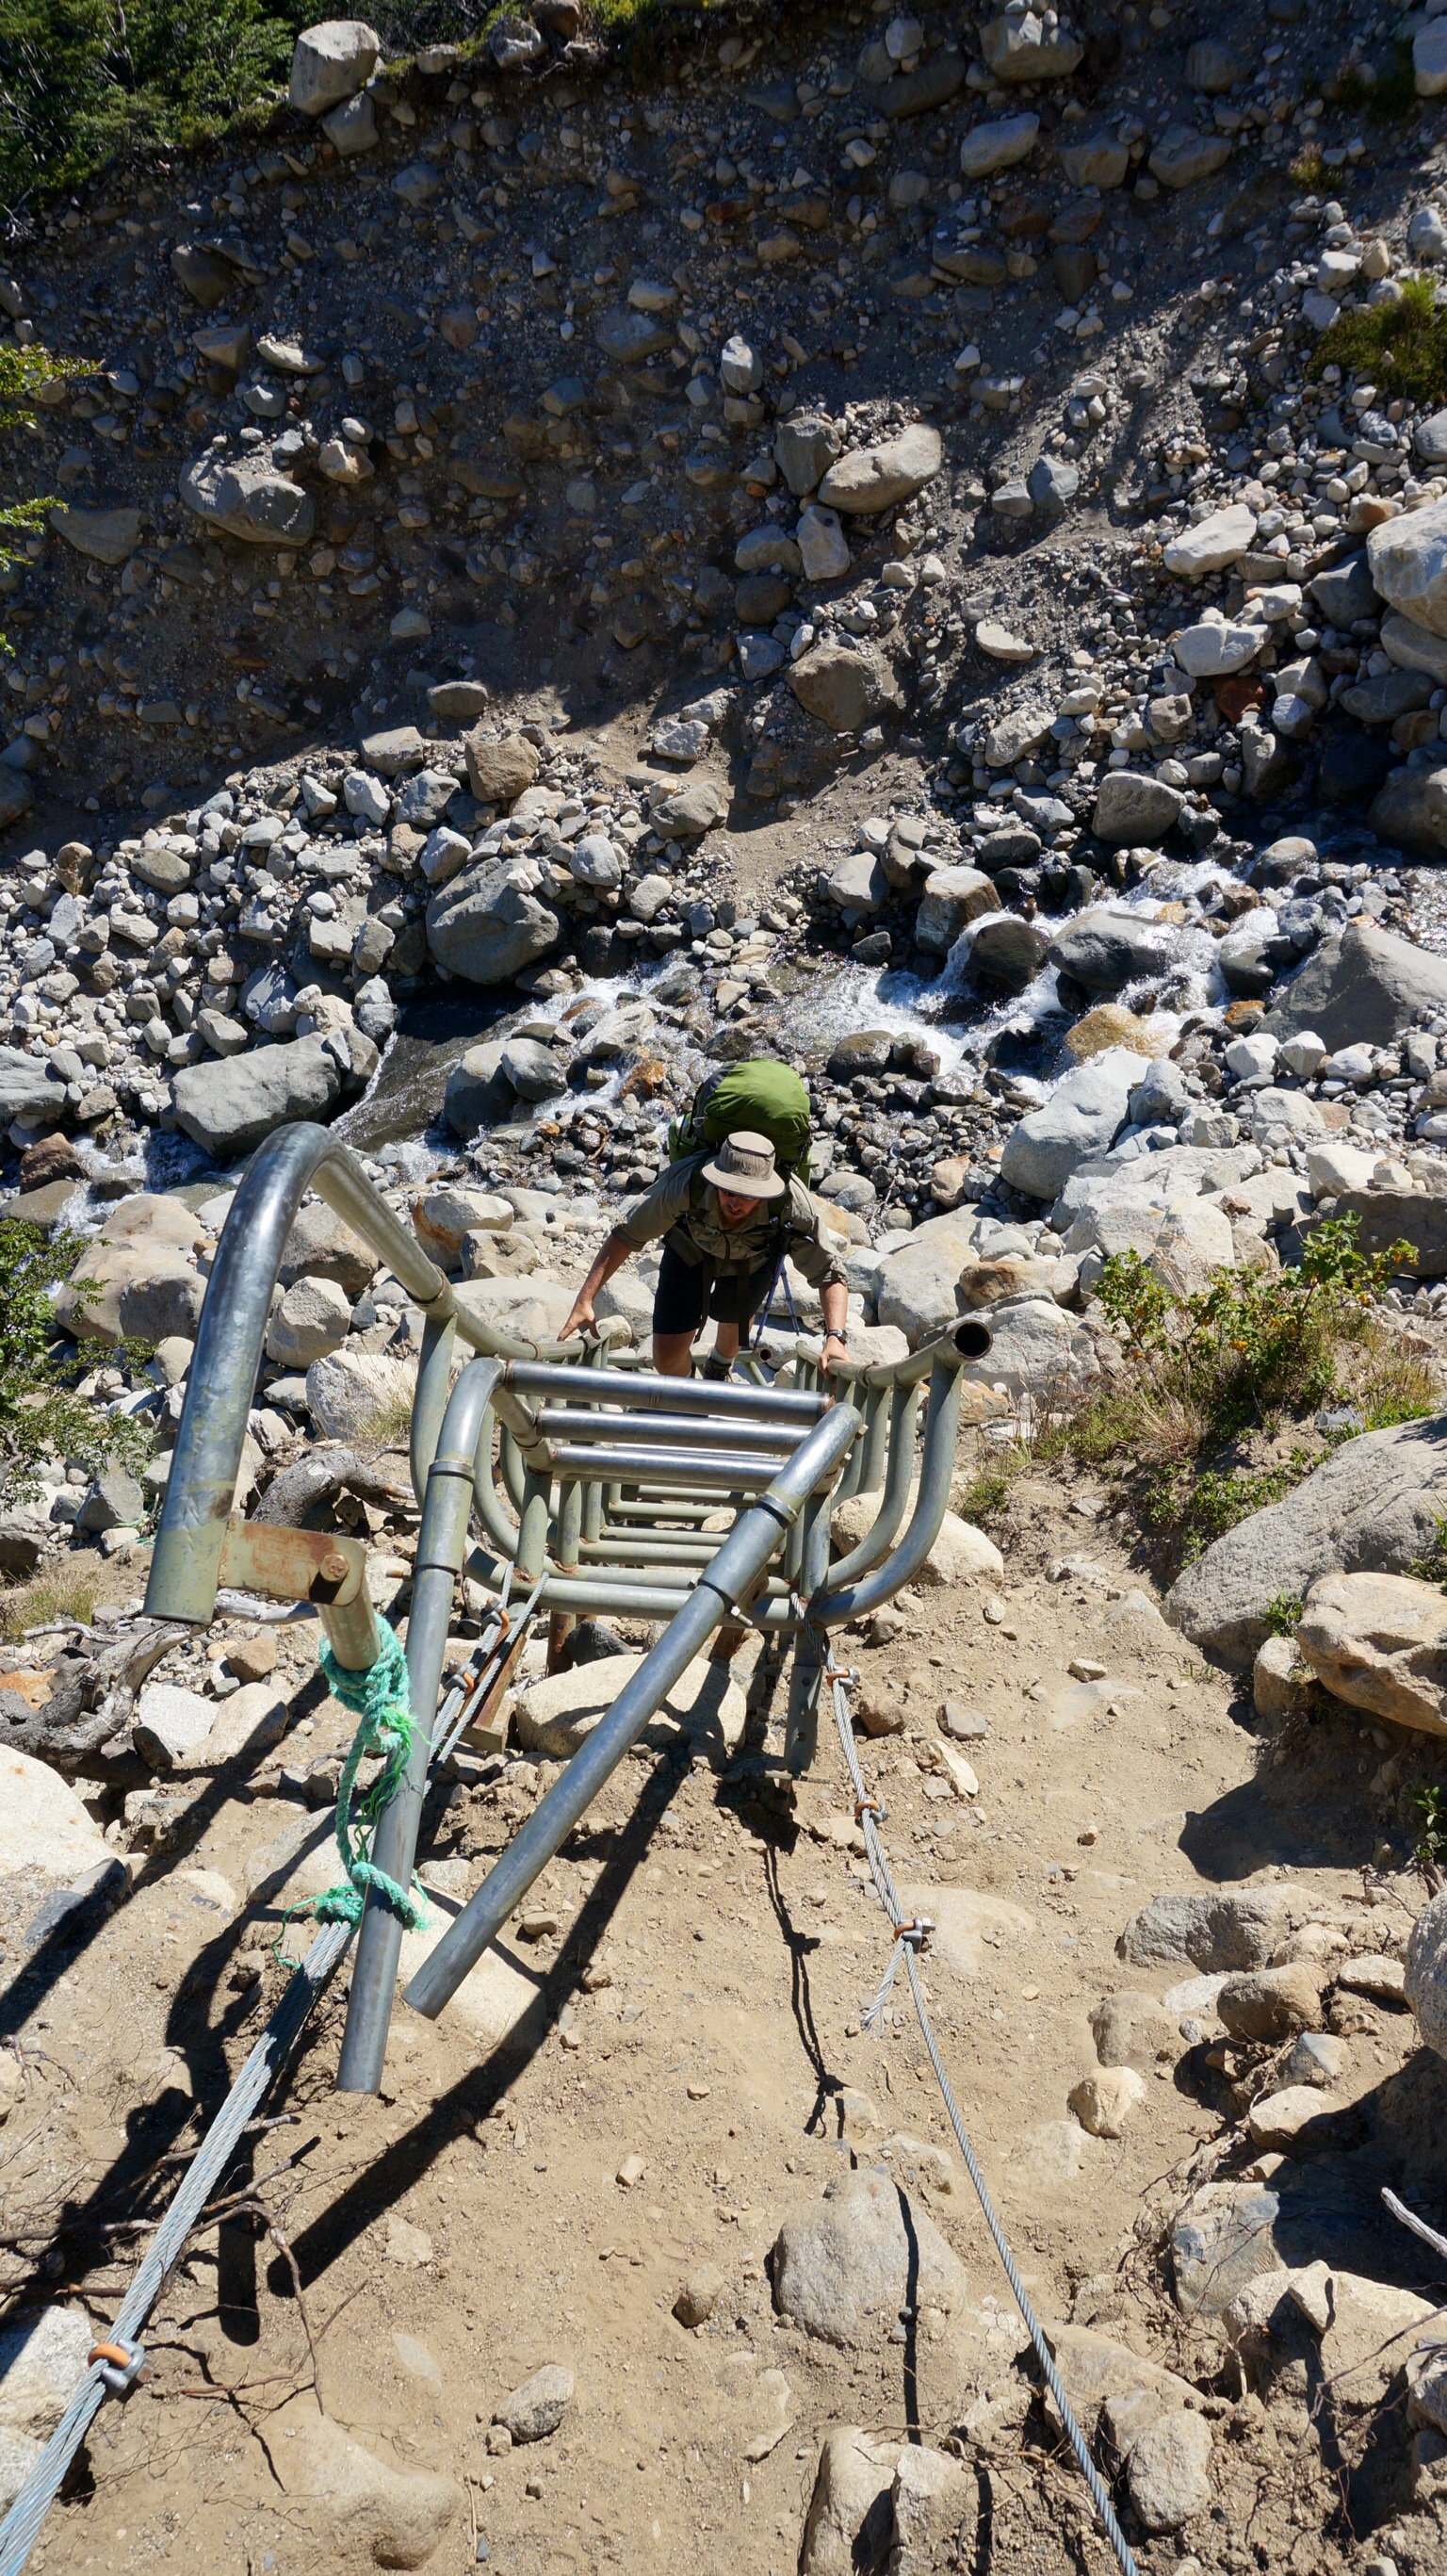
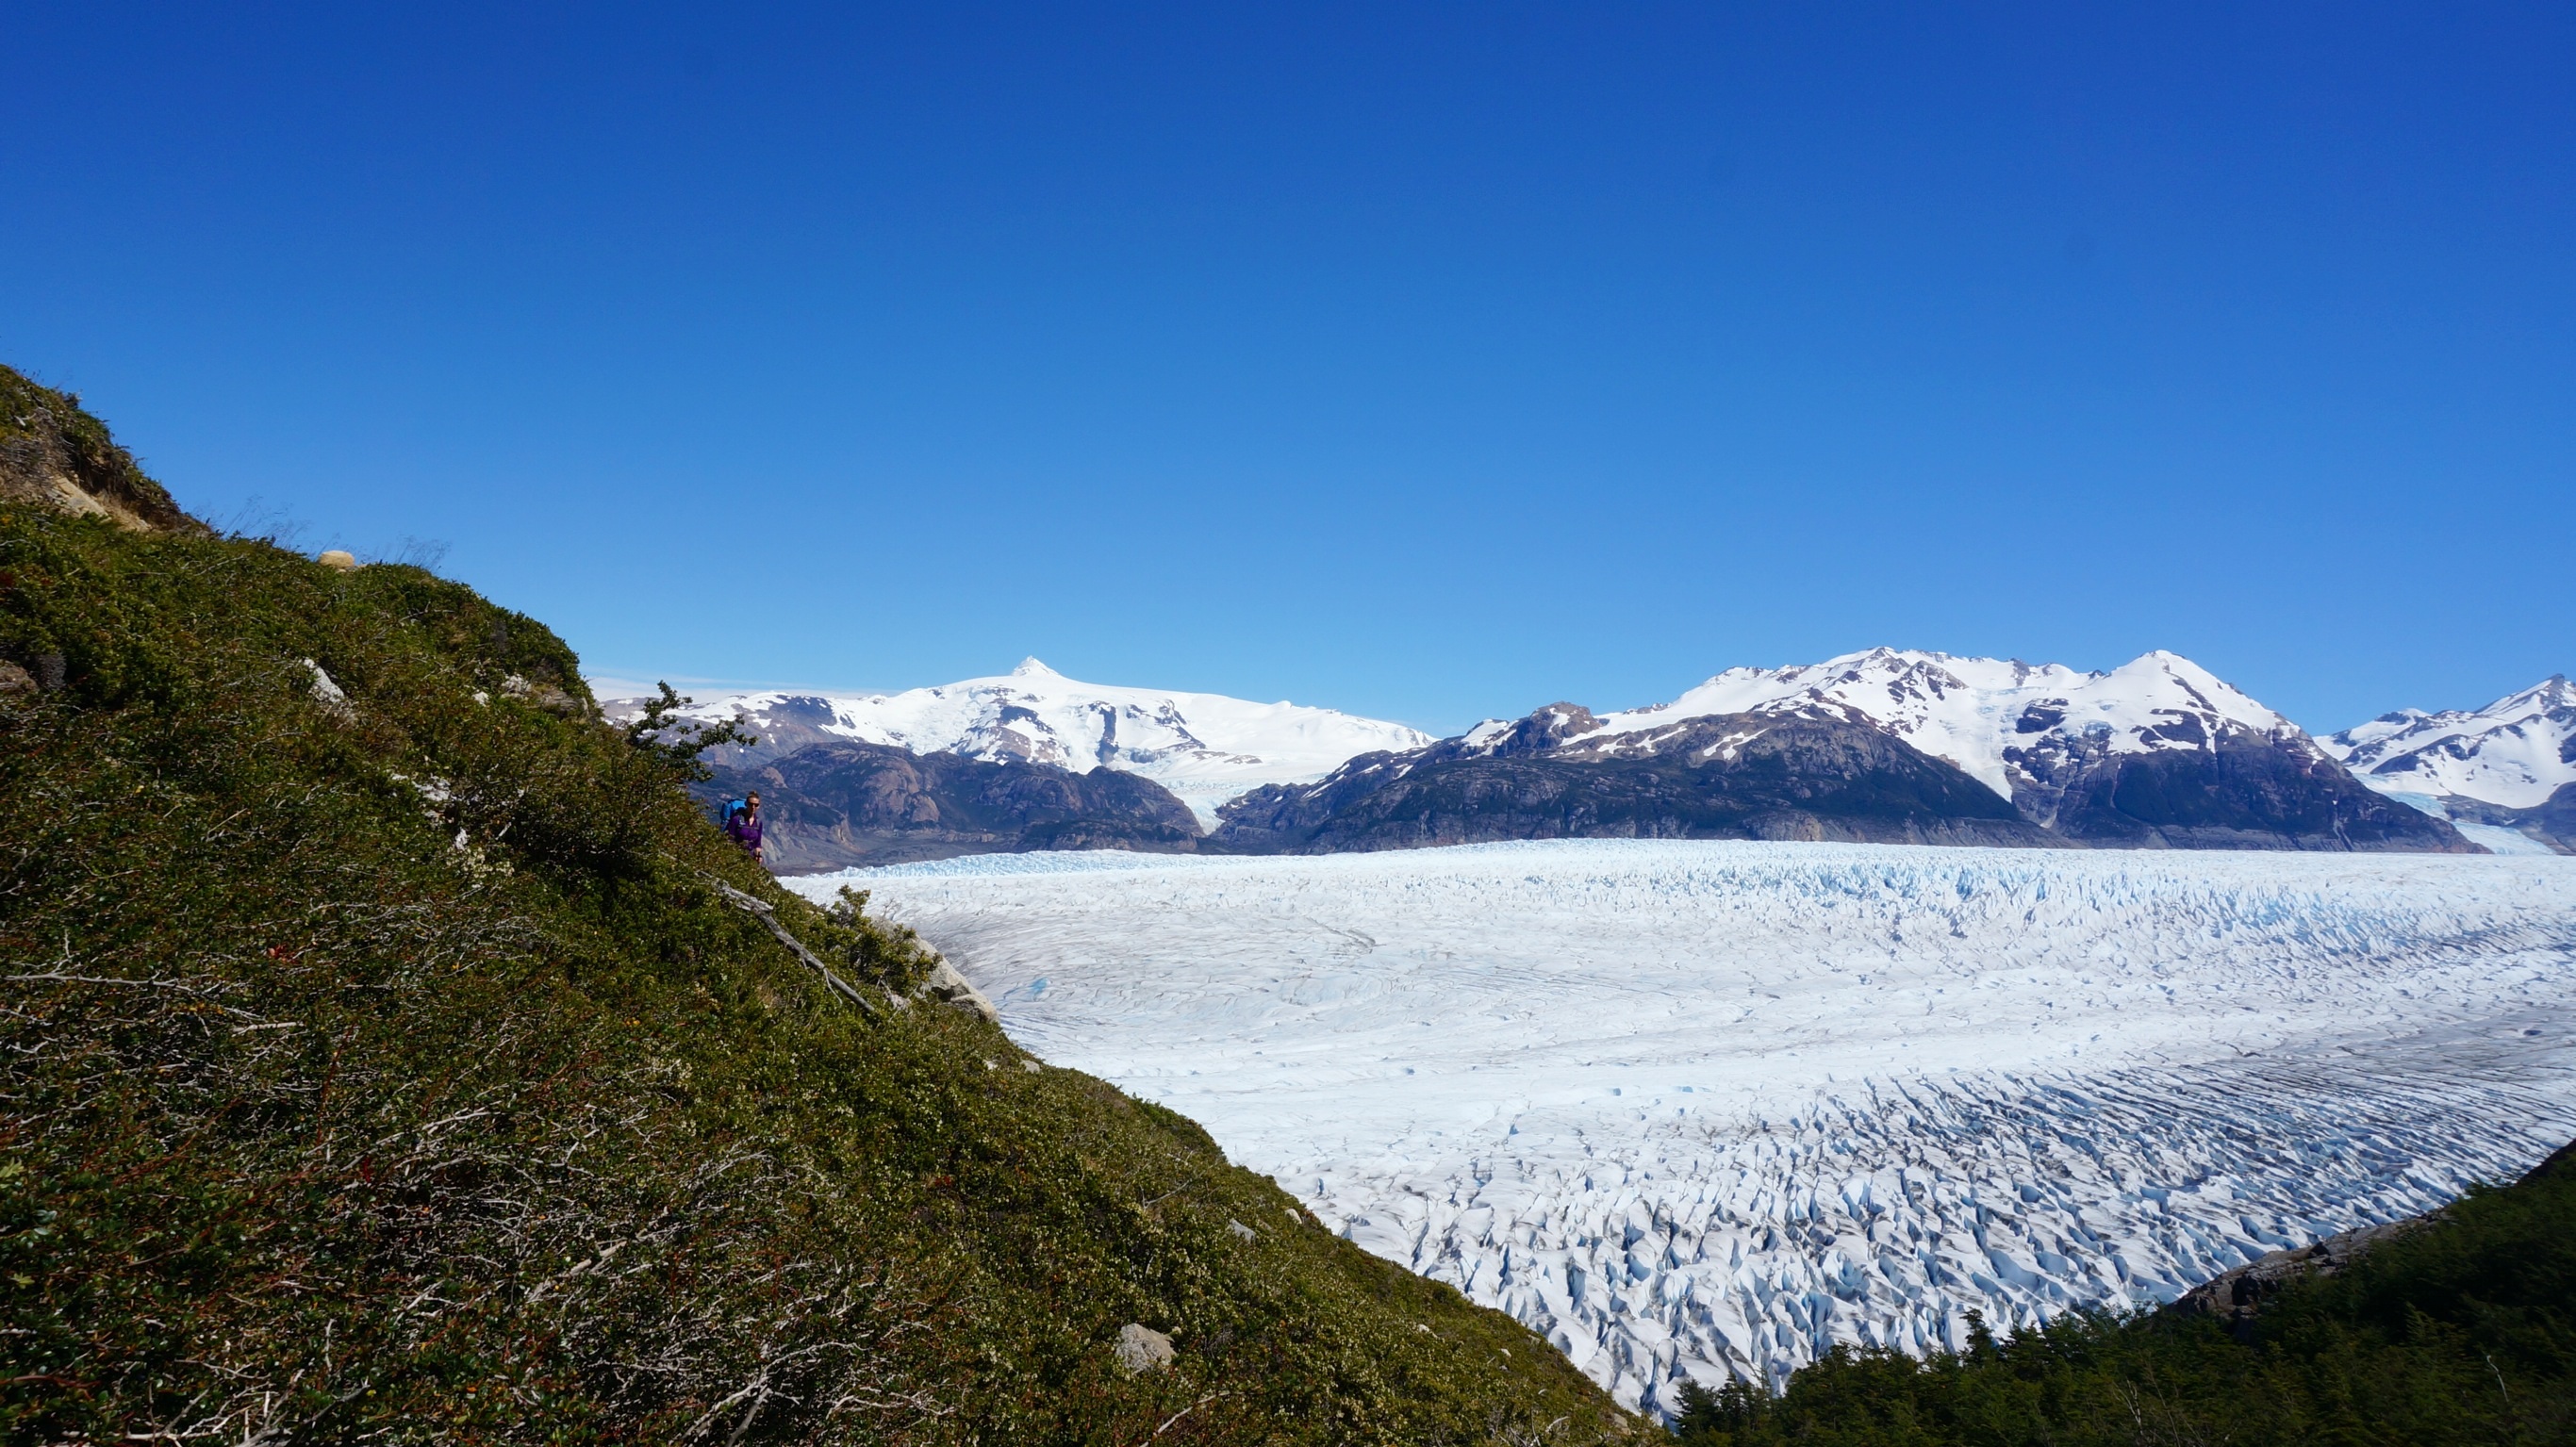
The hike from Paso to Grey was probably our favorite day due to the uninterrupted vistas of Glaciar Grey. While navigating a few wire bridges and ladders bolted into the rocks, you mostly walk along a mountain crest with the beautiful glaciar glimmering to your right. This day was not super challenging and we recommend taking your time and really enjoying the views. Campamento Grey was a bit crowded and some spots can be pretty exposed to the wind. Try to get a spot within or near the trees for a bit of wind protection.

There was a major fire in the park several years back caused by a careless visitor. You can see signs of the damage throughout most of the circuit trek.

While this section of the trek is relatively easy, there are a few intimidating ladders and drawstring bridges to get through!

Don’t look down, Jordan!

Can you find me? What a pleasure to walk next to this glaciar all day.


Don’t miss the 10 minute Mirador detour marked on the trail! It gives you a great view of the edge of the glaciar meeting the lake.

Campamento Grey – Campamento Paine Grande (Not free, 4-6.000 pesos pp)
Distance: 10km
Hours: 3.5
Kiosko
Flush toilets and showers (nice facilities)
Special Note: There is a boat launch here where you can take a ferry to one of the park entrances.
The hike from Grey to Paine Grande starts off walking through hills filled with lupins and foxglove flowers. You slowly say farewell to Glaciar Grey while making your way to Lago Pehoe. Campamento Paine Grande looked refinished with tiled bathrooms and catwalks leading around the campsite. We didn’t stay here however, and can’t comment on the wind etc. Since this is such a short leg, many combined it with the next hike to Campamento Italiano.


Campamento Paine Grand – Campamento Italiano (FREE!)
Distance: 7.5 km
Hours: 2.5
No Provisions
Flush toilets, no showers
Special Note: Option for pack storage during Mirador Británico hike, use it!
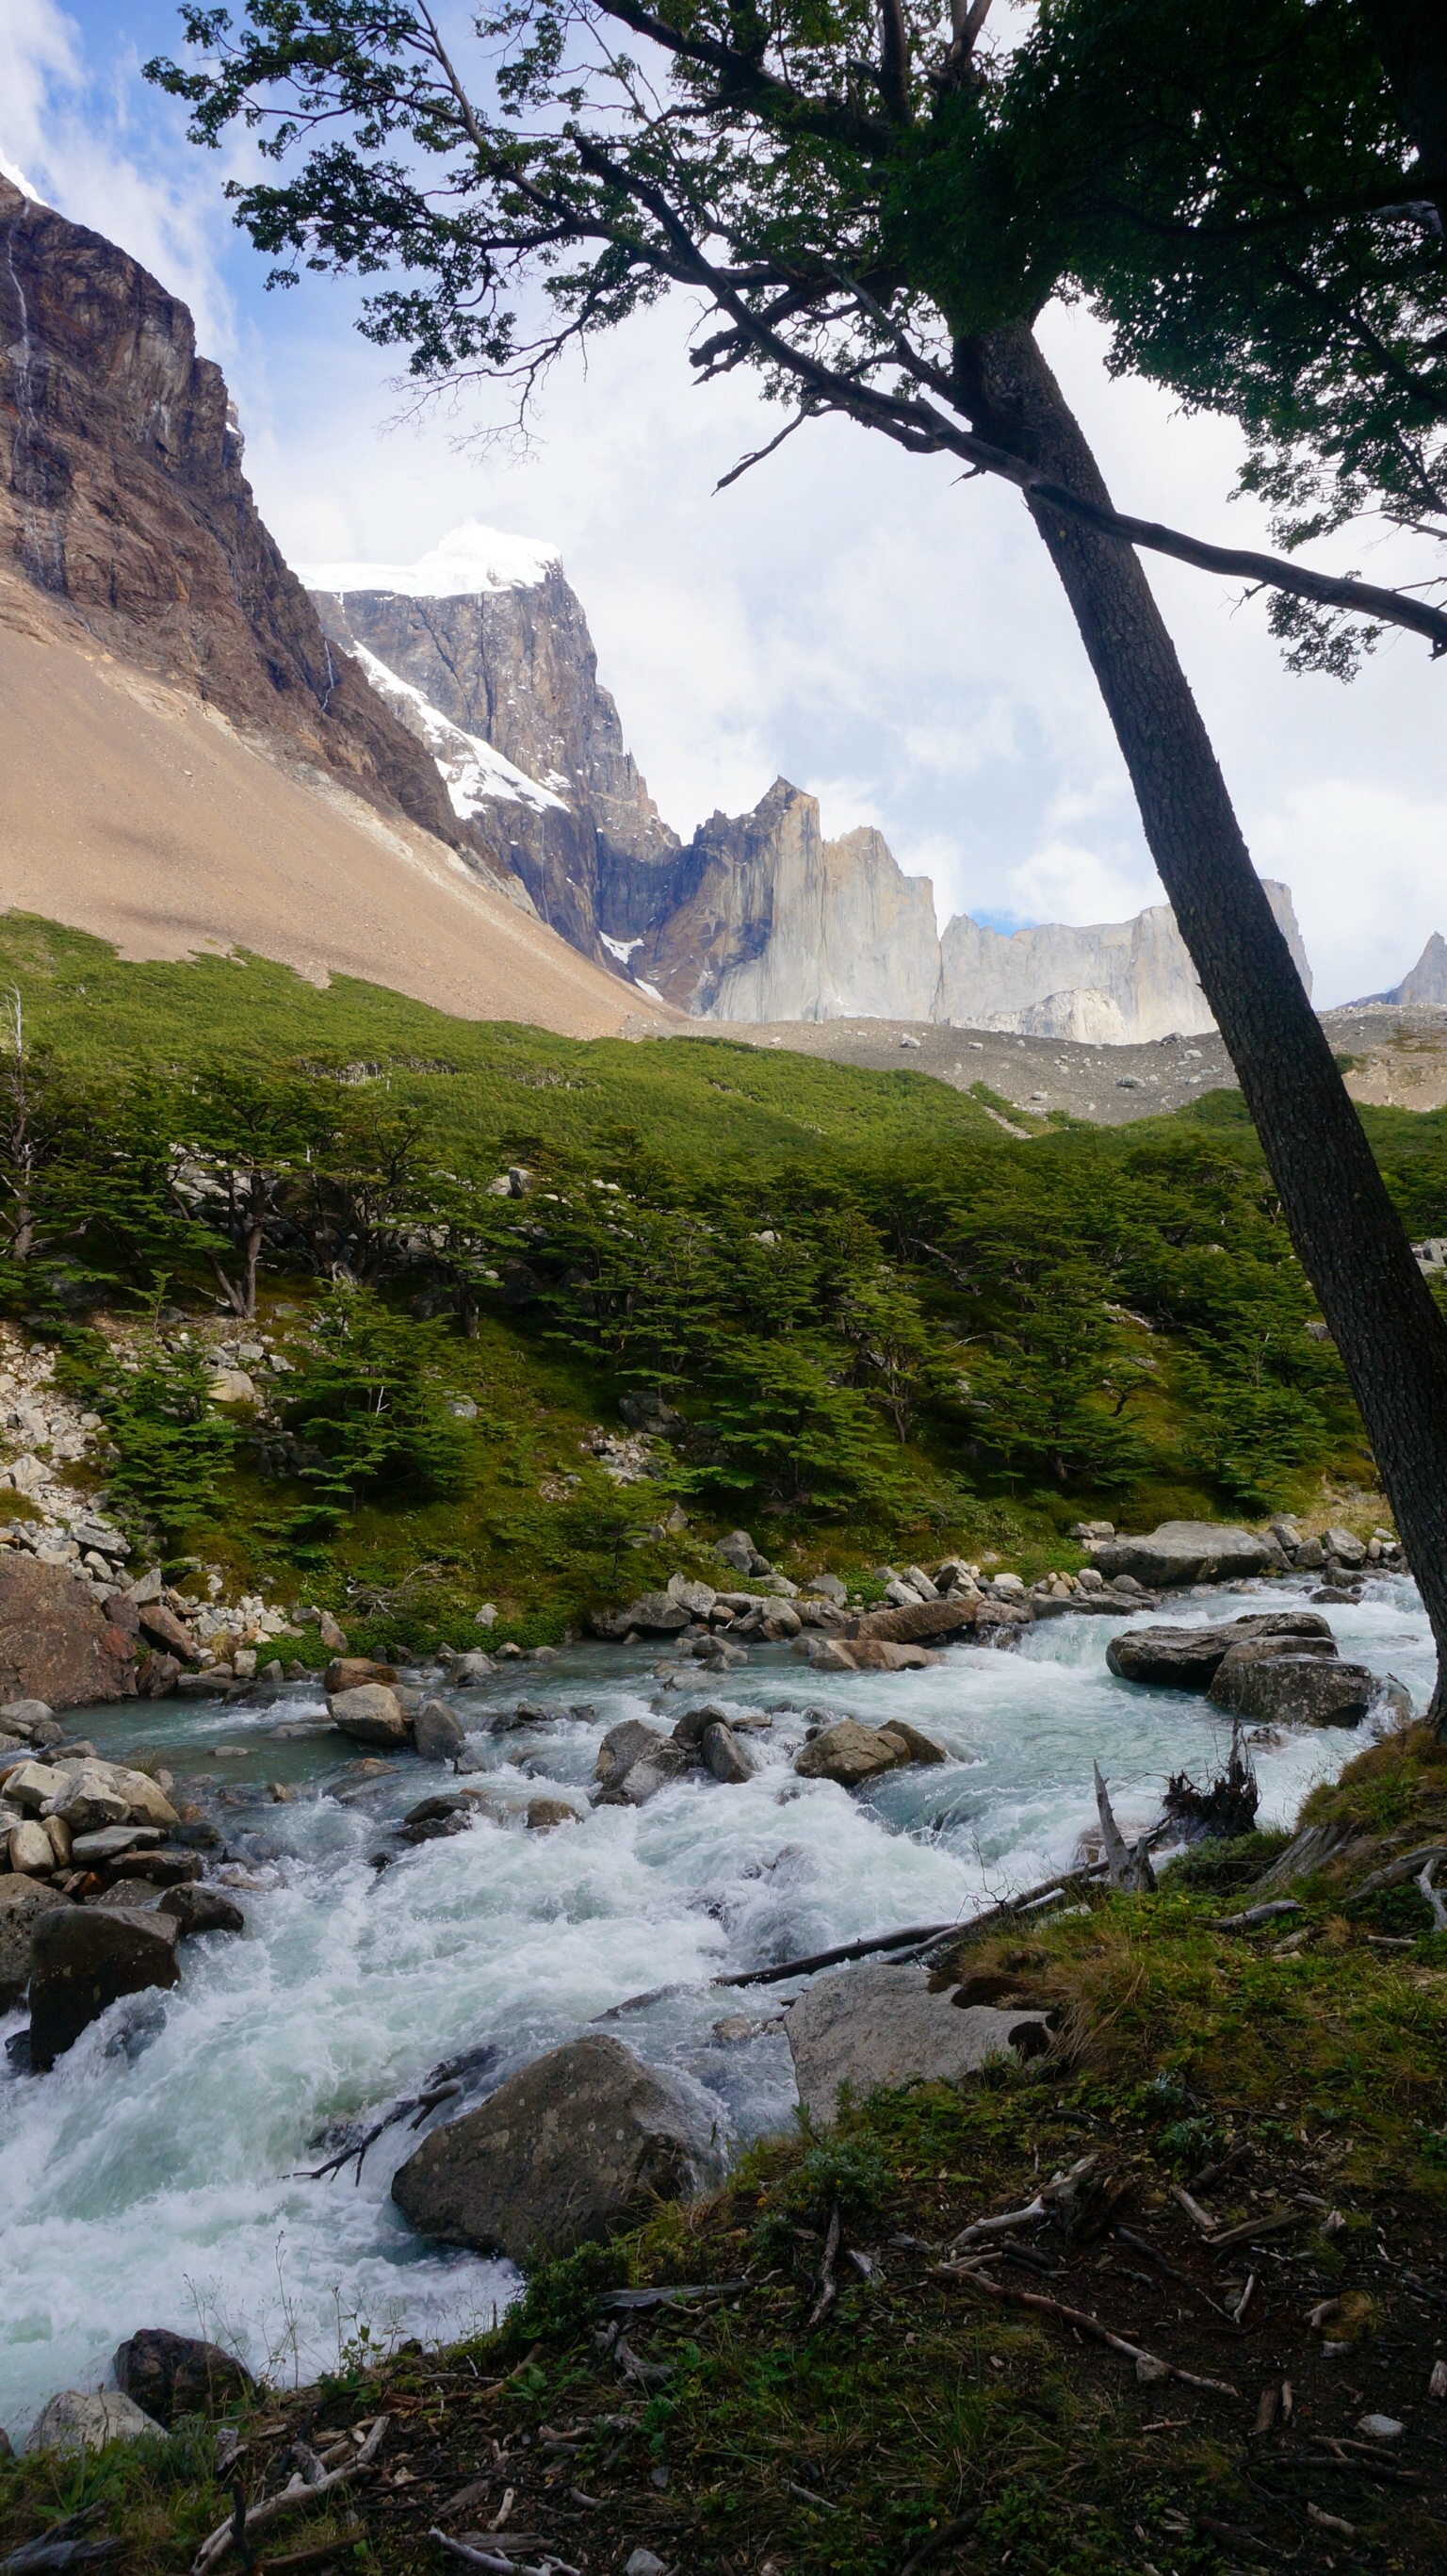
Though probably the easiest section of the trek, we had kind of a difficult time since the sun was so strong and hot with minimal shade. Beautiful lake views. Campamento Italiano is a free site and gets very crowded. It is next to a gorgeous rushing river, but otherwise not the best environment. Since the site is free, you are only supposed to stay there one night, not that the ranger would be able to tell. The hike to Mirador Britanico begins and ends with Campamento Italiano so it is common practice to leave your pack outside the ranger station during the climb and then pick it up before moving on to the next site. After several days with your pack this climb doesn’t feel bad at all without that added weight!


Resting our feet next to the river at Campamento Italiano.
Campamento Italiano – Campamento Cuernos ($6.000 pesos pp)
Distance: 5km
Hours: 2.5
Kiosko
Flush toilets and showers, questionably clean hot tub (yes I said hot tub)
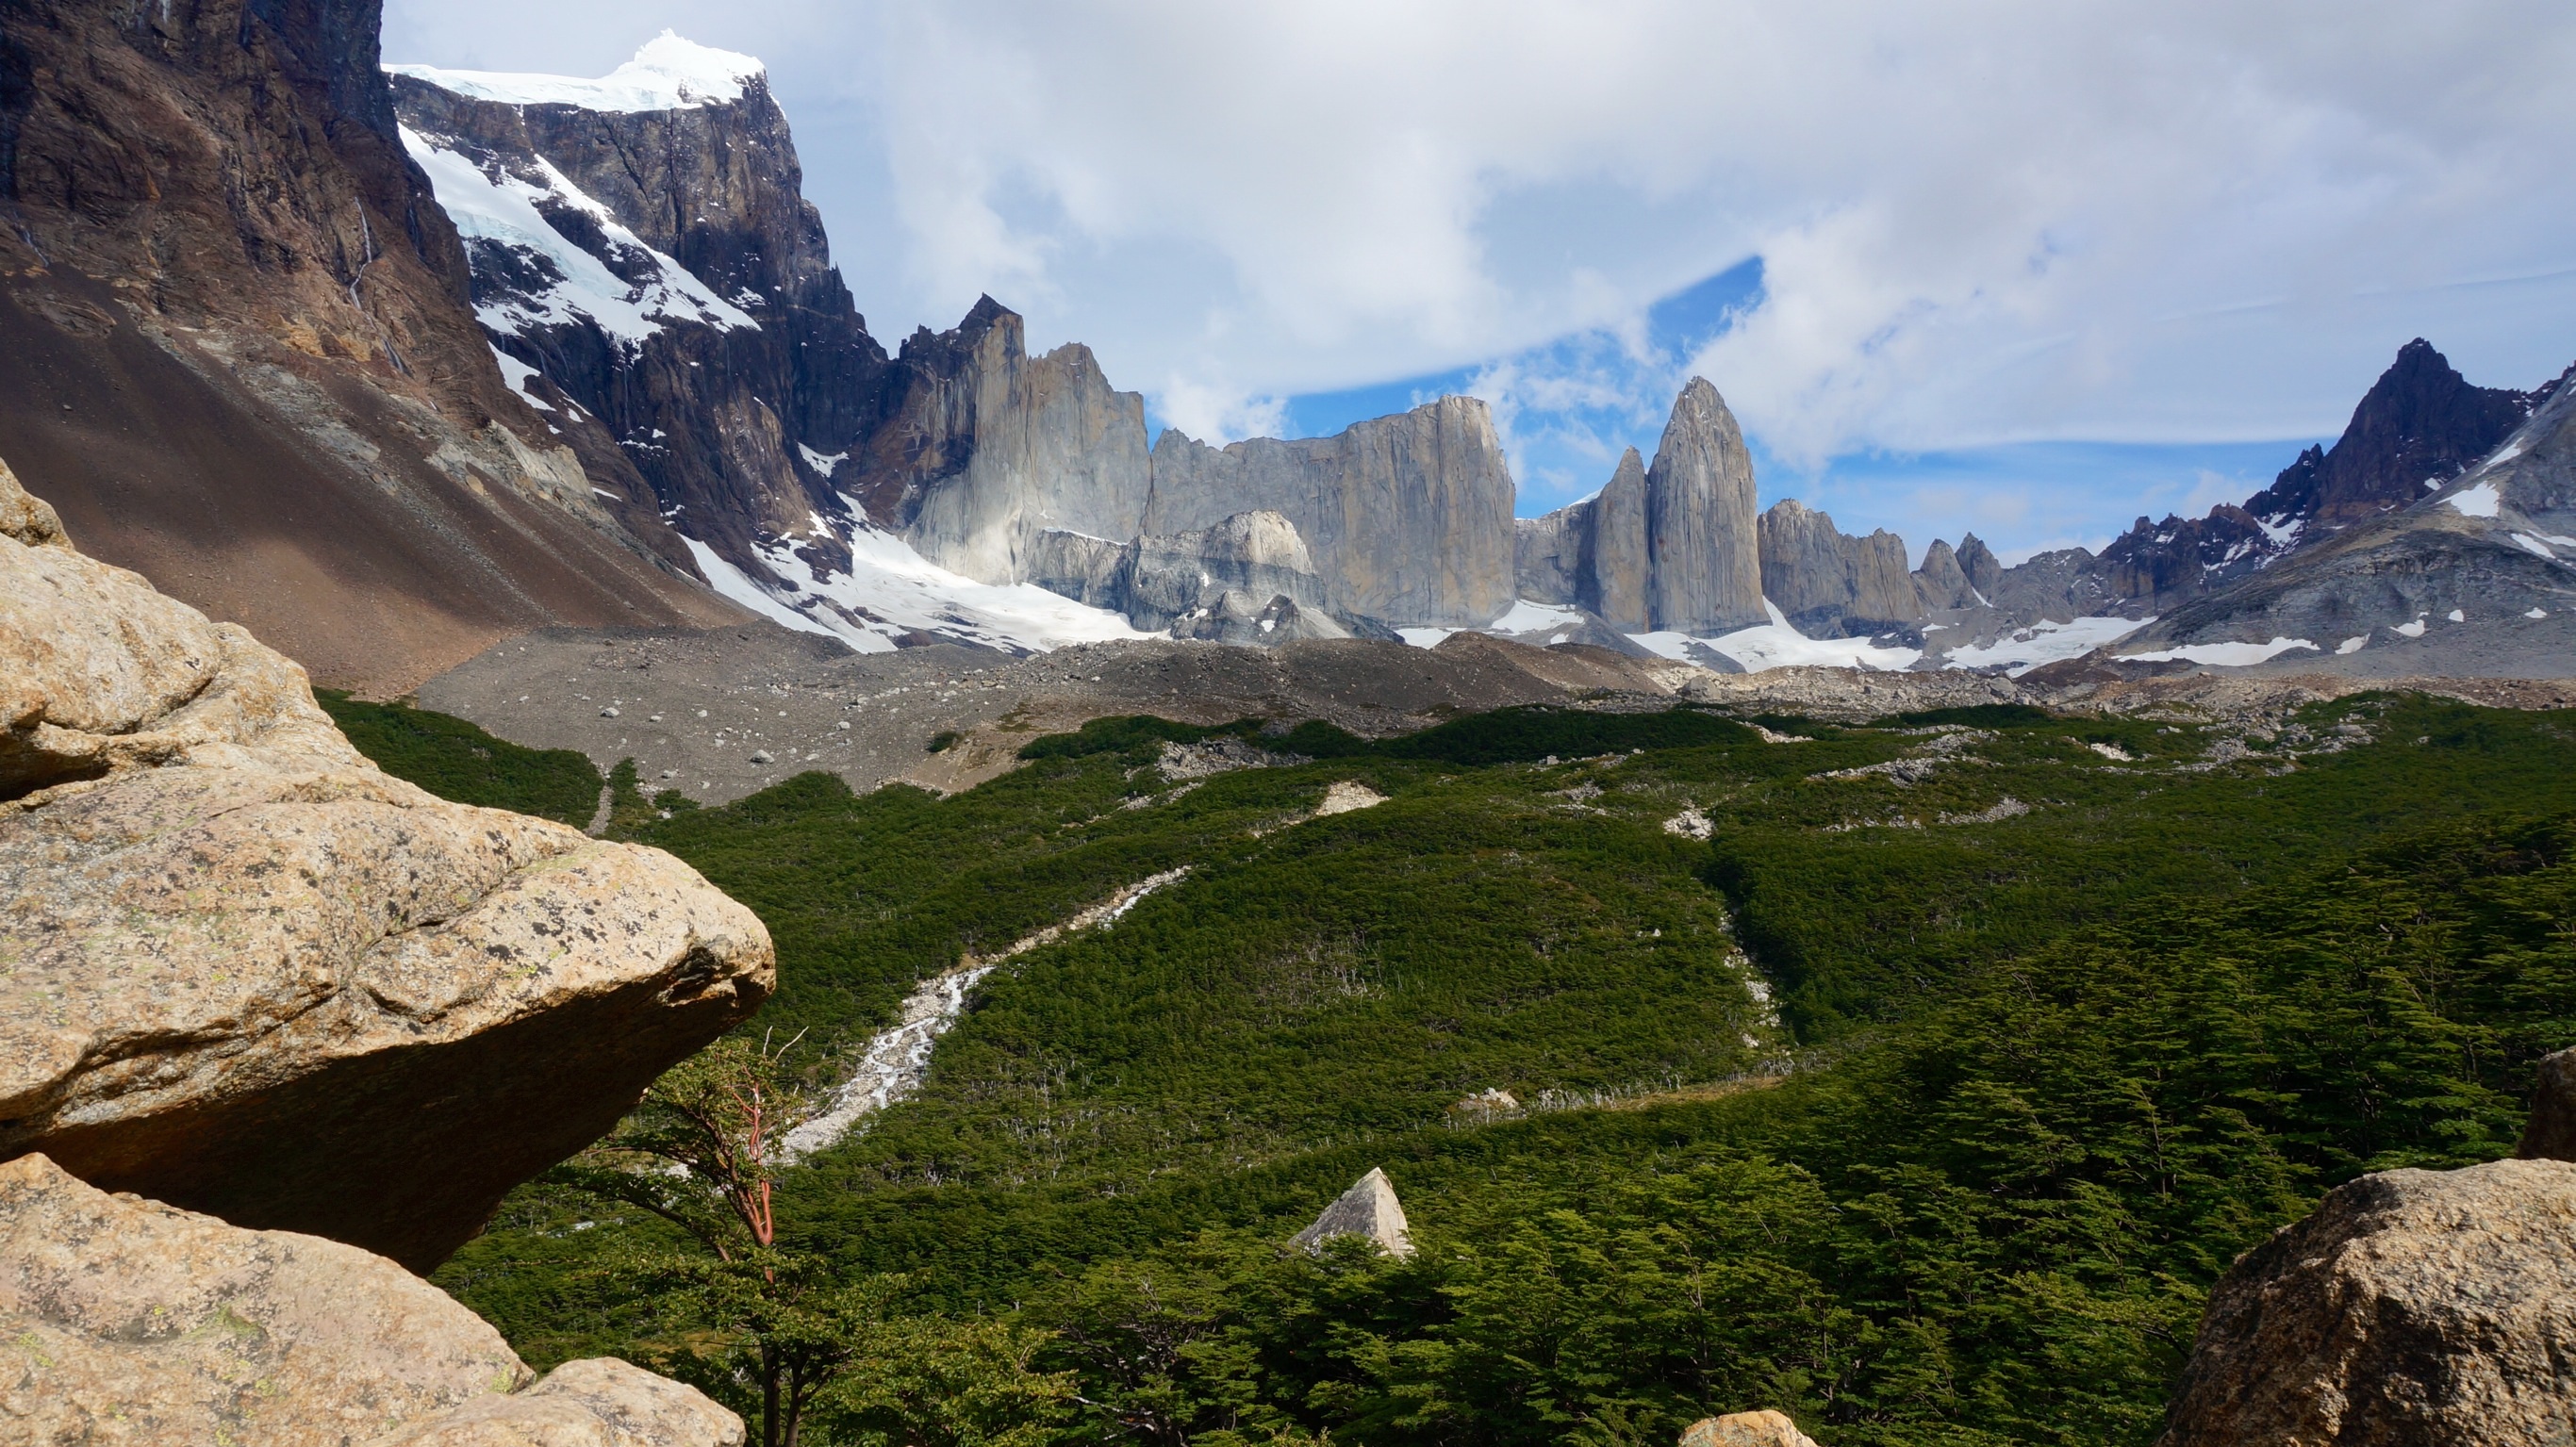
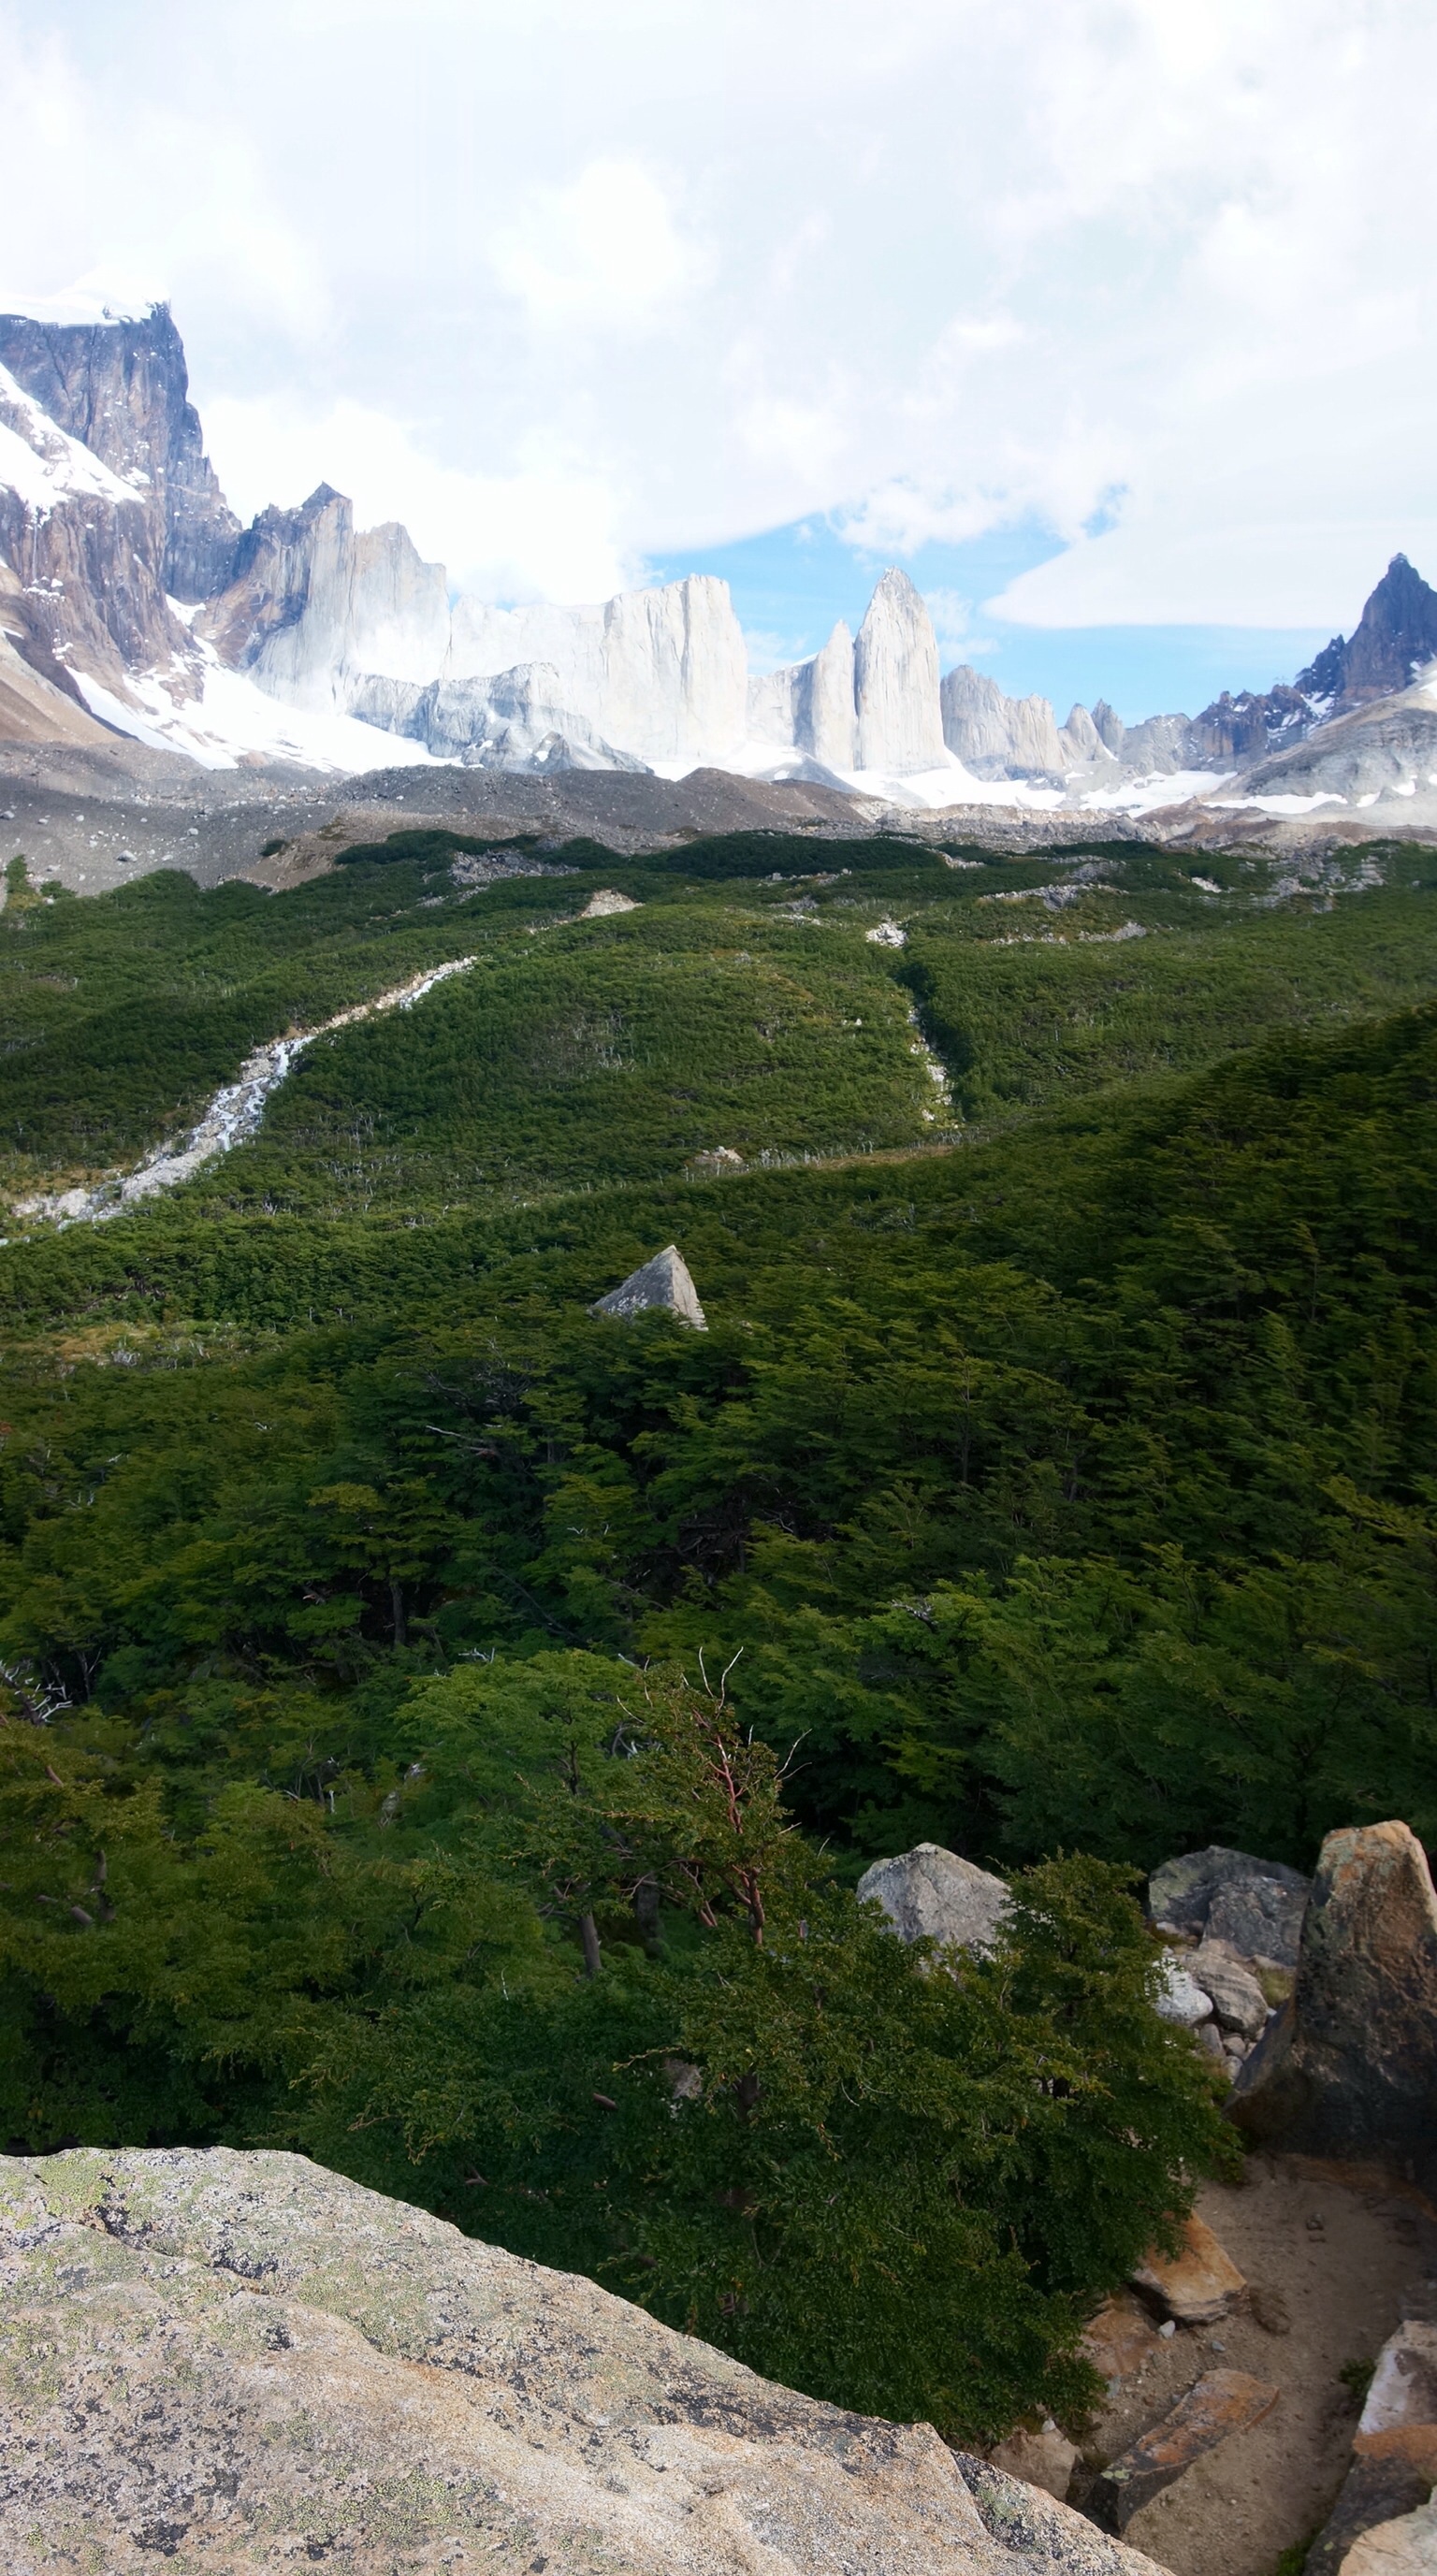
Typically combined with the Mirador Britanico hike, the Italiano-Cuernos hike is pretty short. Cuernos offers great views of Lago Nordernskjöld, if you can find a good campsite that is. In addition to the refugio dormitory there are also small cabins available for rent here. In front of the cabins, we were amused to find a wood stove heated hot tub. Only two of our hiking companions were brave enough to get into the ‘confusingly slimy’ wooden tub which they found lukewarm but enjoyable.

View from Valle Frances (on the way up to Mirador Brittanico)


Campamento Cuernos – Campamento Chileno ($6.000 pesos pp)
Distance: ~15km (Cuernos to Hotel is 12, Hotel to Chileno is 5 but you can take a shortcut to bypass hotel)
Hours: ~5
Kiosko
Flush toilets and showers
Lago Nordernskjöld is so vast and beautiful, that the trek along side it turned into one of our favorite trail sections. Campamento Chileno was a bit crowded and the bathrooms pretty gross. We had to squeeze our tent on the edge of a small cliff above the river that runs through the campsite. I would recommend pushing through and getting to the free campsite, Campamenrto Torres, if possible as this sets you up well for a sunrise viewing of the geological wonders and namesake of the park, Los Torres. Unfortunately for us this site was closed for camping due to a bathroom explosion of some kind.


Photos will never do this lake justice.

You can see the trail leading to Chileno on the left.

You can see the trail leading to Chileno on the left.


Our precarious campsite at Chileno. It was overcrowded due to the temporary closing of Campamento Torres.
Campamento Chileno – The climb to see Los Torres!
Distance: 4km
Hours: 2.5
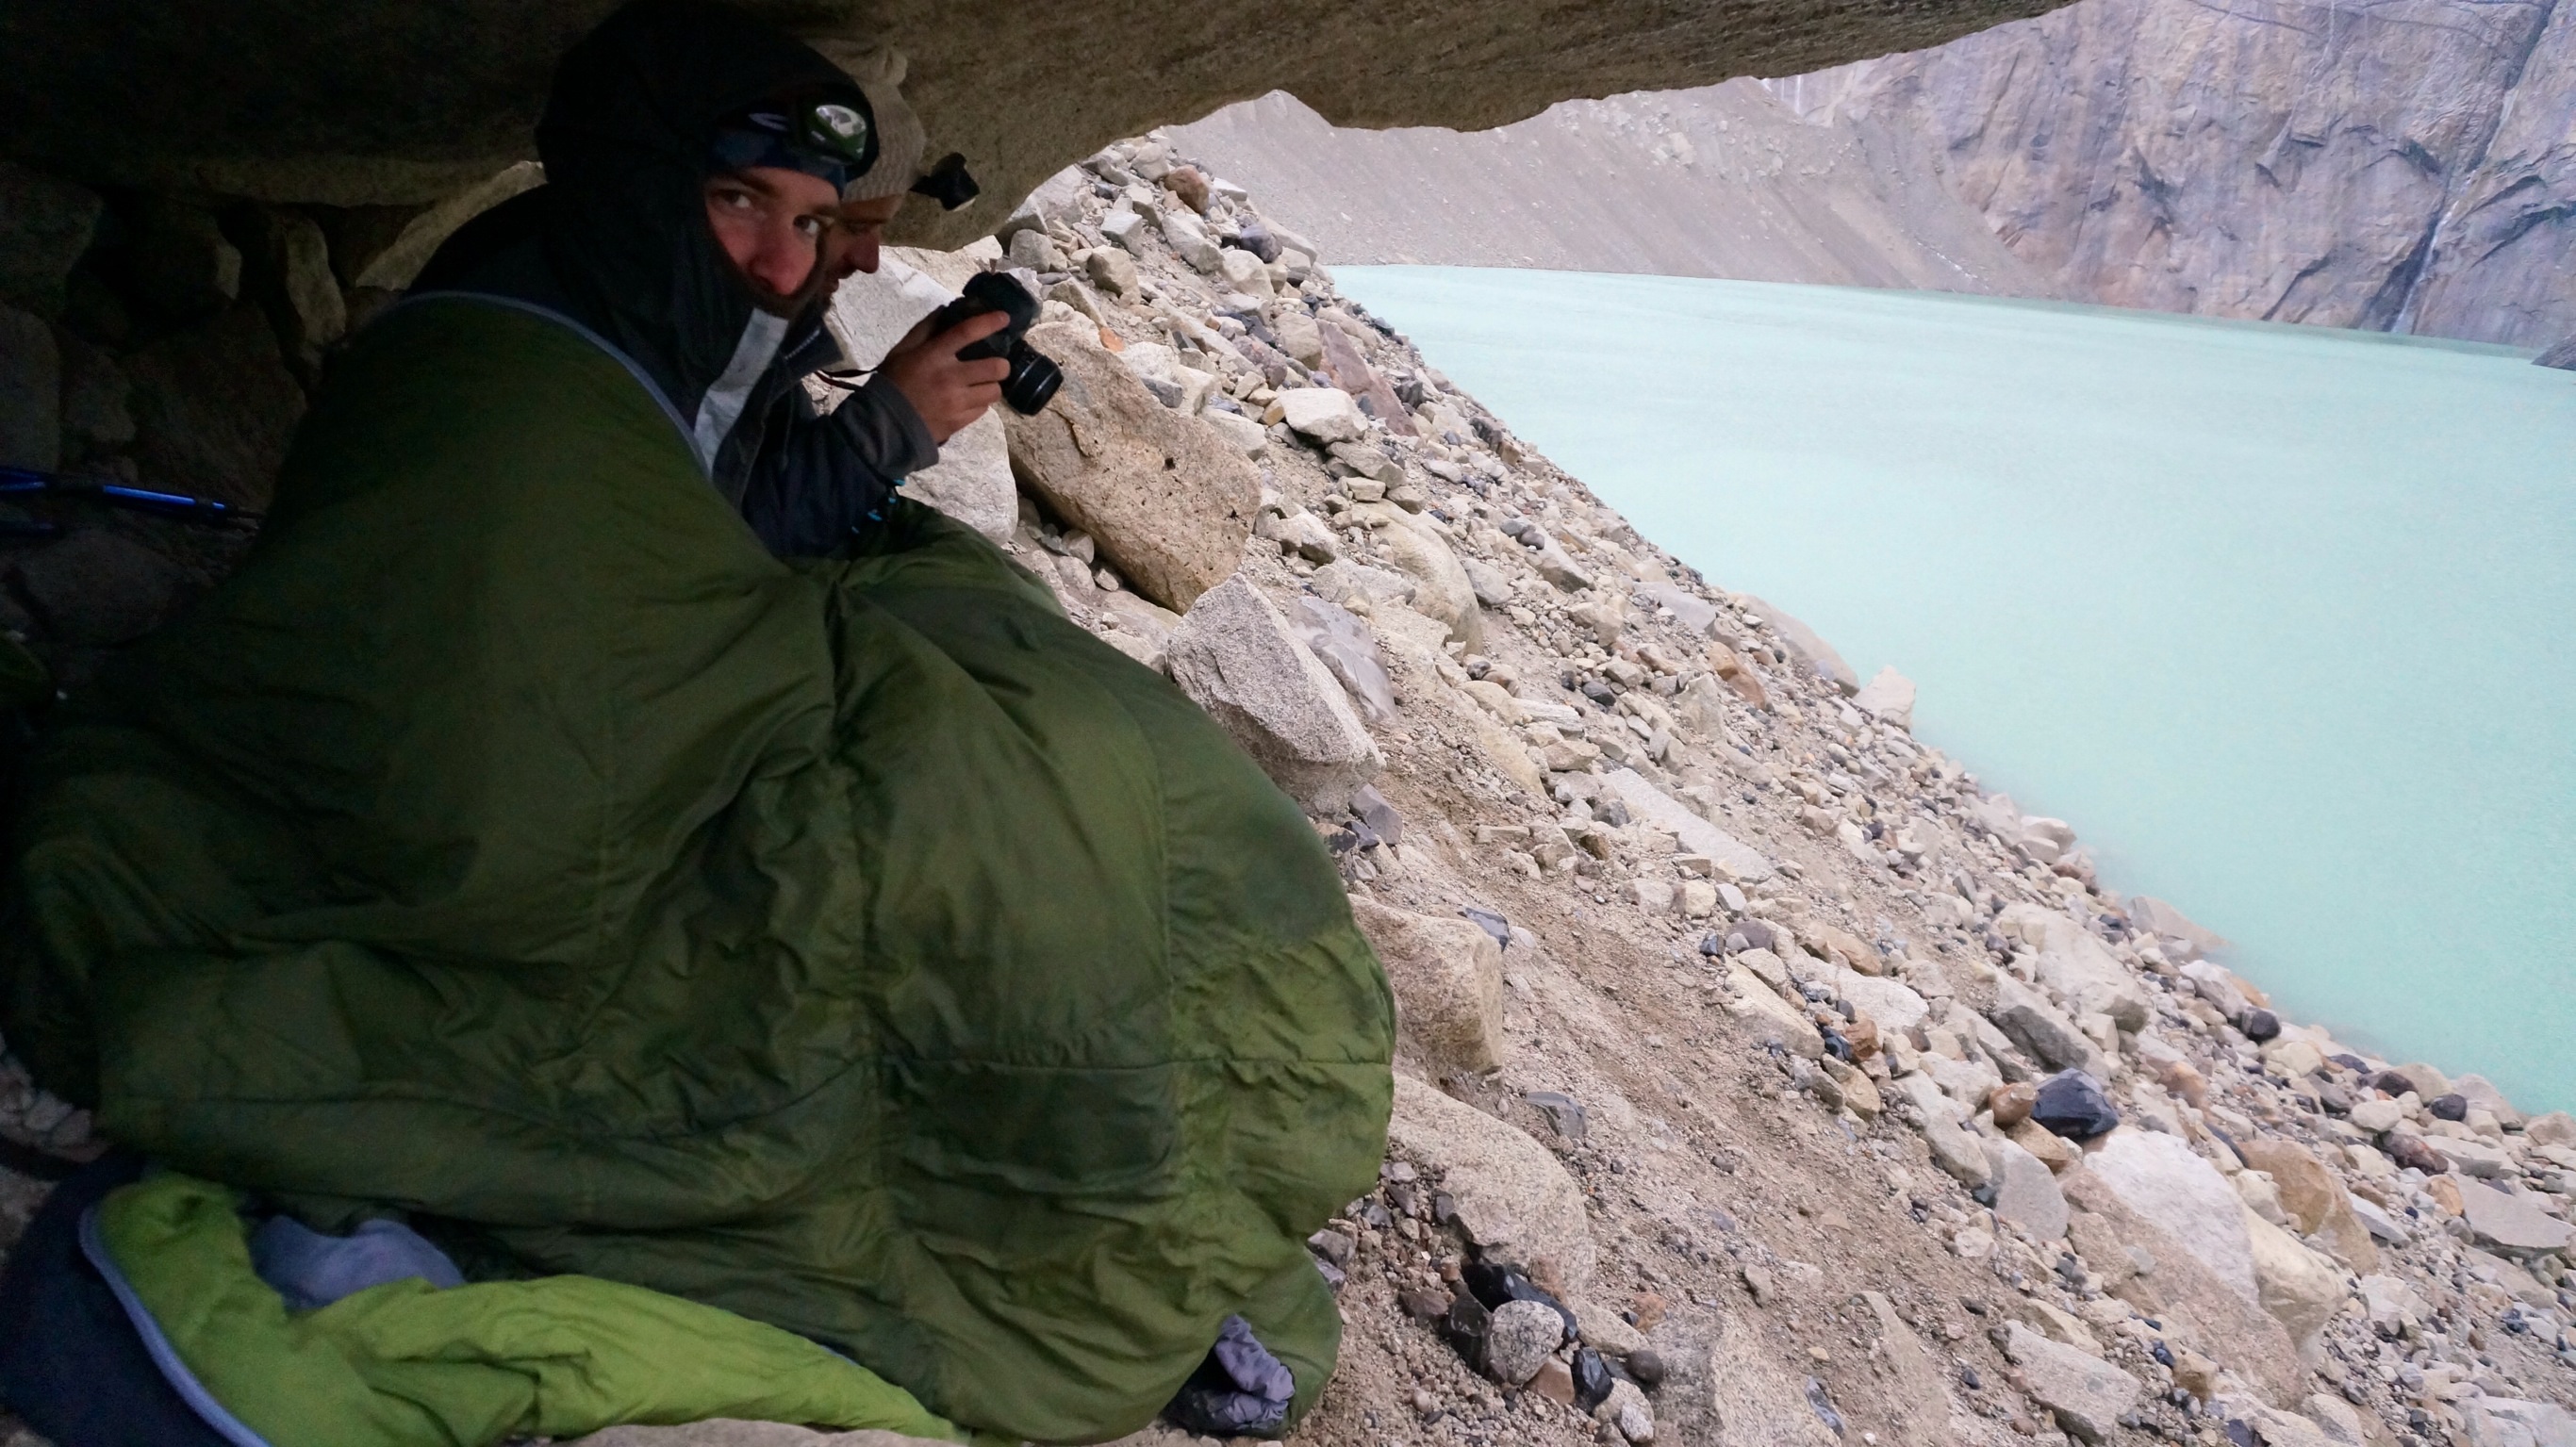
Everyone tells you to brave the cold and wake up early to see Los Torres at sunrise during which they glow a beautiful red color. Since Campamento Torres was closed that meant waking up at 3:30AM to hike to the Base de Los Torres in the dark. We received good advice to wear all our warm layers, rain gear and also bring our sleeping bag to the top as it is incredibly cold. Unfortunately, the weather for us did not cooperate and we spent hours sitting in the rain and snow hoping to catch a glimpse of Los Torres through the clouds. Definitely worth the attempt, but be prepared for inclement conditions! Once you are back at Chileno, the trek out of the park is a leisurely downhill stroll to the exit with the buses.

We found a ledge which provided some ‘shelter’ from the elements as we froze for two hours waiting for the cloud cover to clear.

The infamous Torres of Torres Del Paine!
Base Expenses (per person in pesos):
Bus RT in/out of TDP: 11.000
Campsites for 8 nights: ~24.000 give or take
Park entrance (non chilean): 18.000
***add food costs and hostel/camping in Puerto Natales pre and post TDP and this can cost you over $150 – be prepared!***
-50.942326
-73.406788


